Announcement

Collapse
No announcement yet.

You guys might like my new truck engine

Collapse
X
 
  • Filter
  • Time
  • Show
Clear All
new posts

  • #46
    So here's the current state of things:
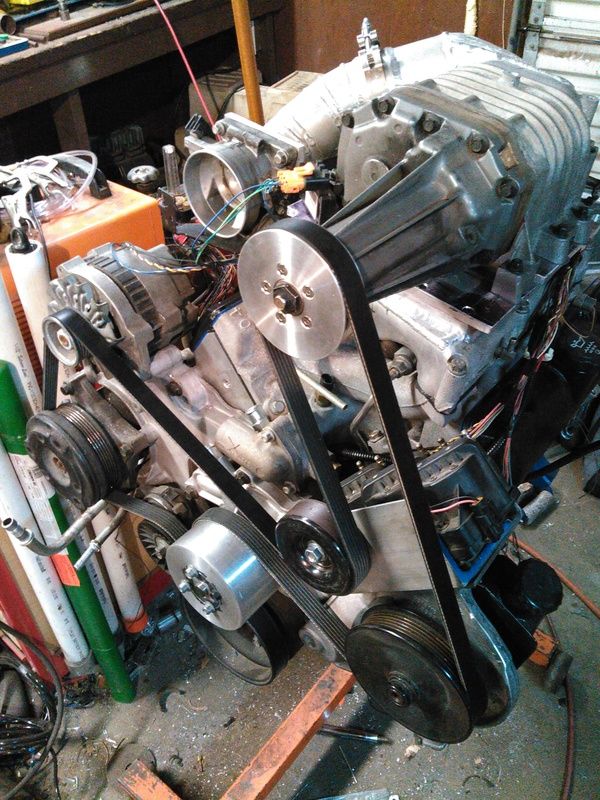


    Still on the motor stand.

    Oh well. I used some strawberry jam to bond the intake together, it should be fine. Had to strain it first, too many seeds made it not wanna sit right.
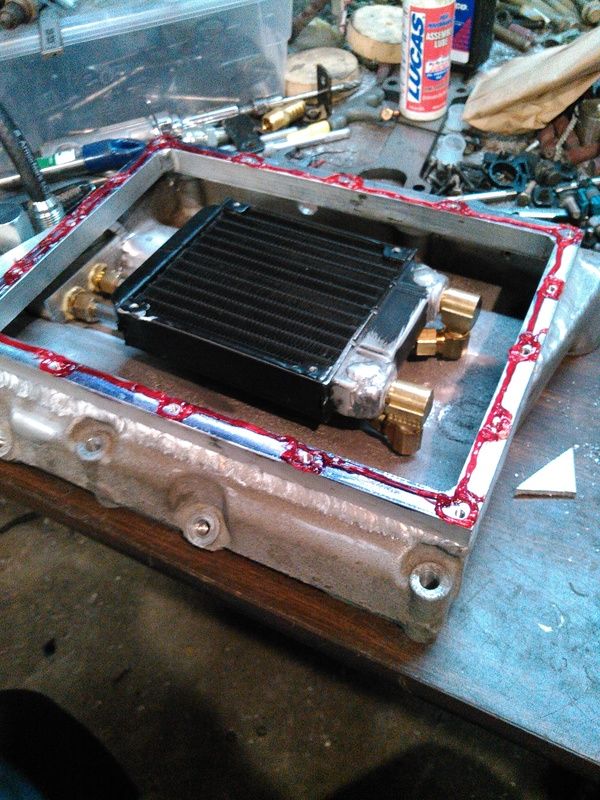


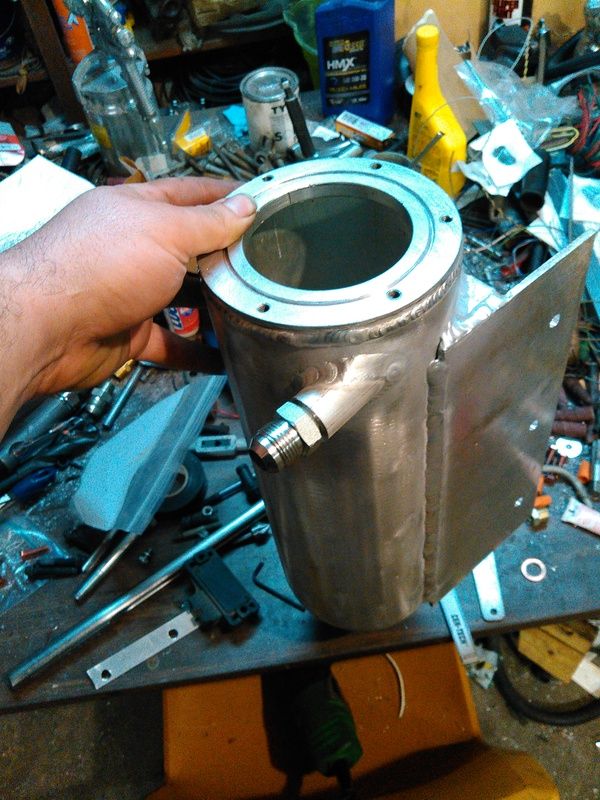
    Got the water tank nearly done, just a bit of trimming to do to fine tune things, but again...fire extinguisher!
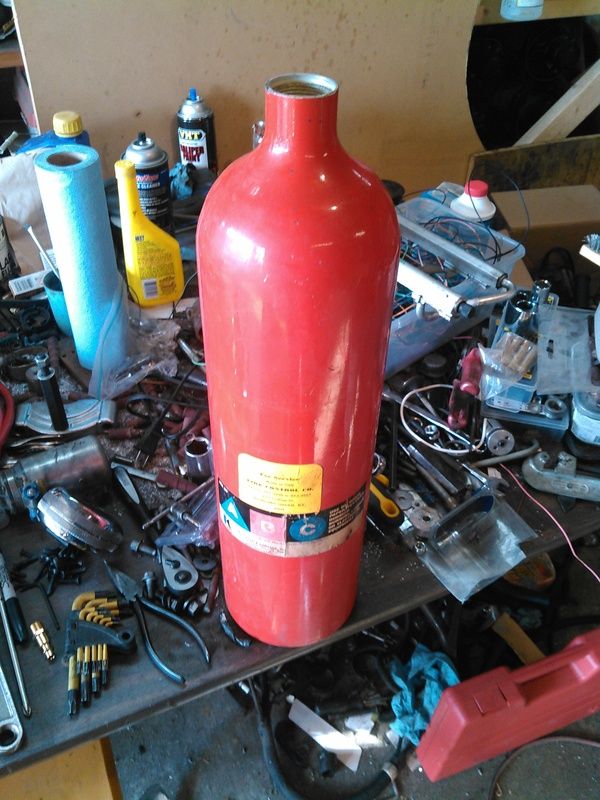


    Needed a bit of a trim to fit though.
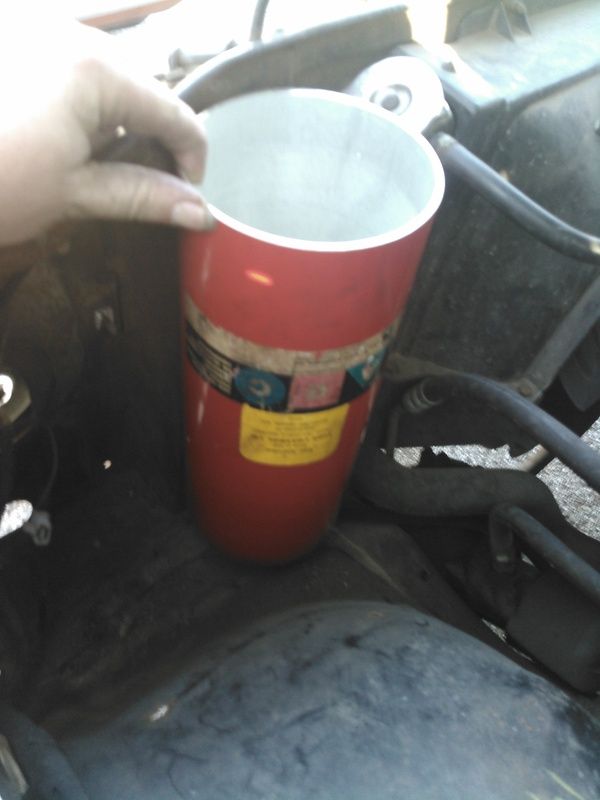


    Never waste stuff like that, it's handy. Yeah, you gotta grind the powdercoat off but so what, it's free metal.

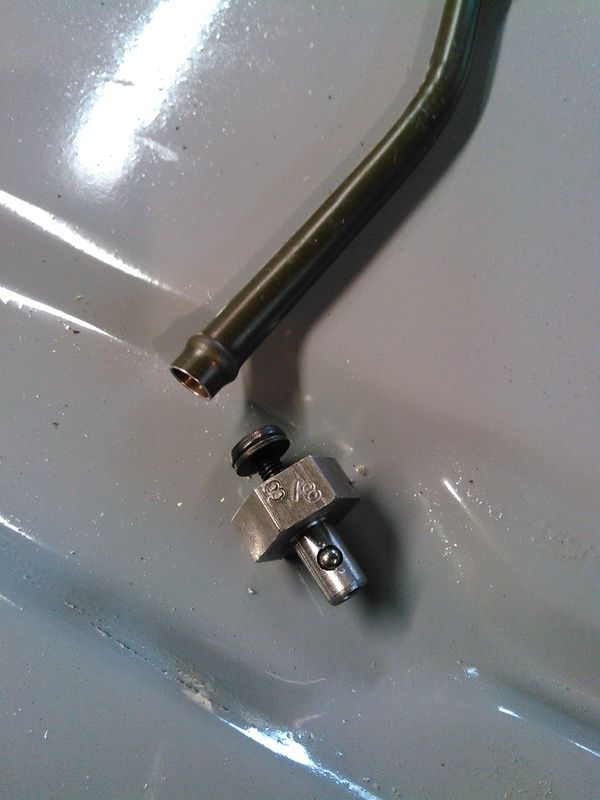
    Finished up the fuel feed line, but I still need to bend the return line. Welding 0.020" wall stainless tubing is touchy!
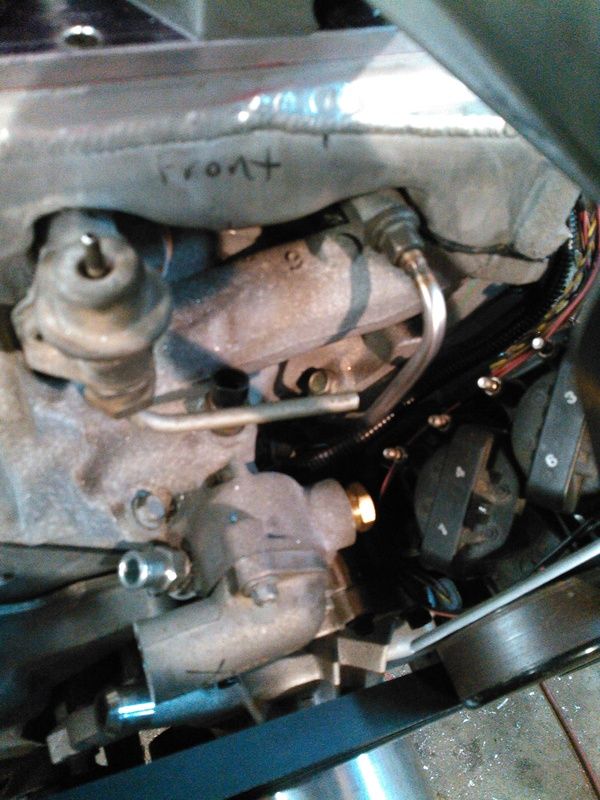


    Feedline is 8mm for about 18", but the rest of the truck is 10mm feedline. Return line is 8mm for the whole truck. I am gonna try to find a 10mm feedline tomorrow, when I got to the parts yard. Also need an auxiliary fuel tank and sending unit, I have almost everything needed to dual-tank the truck so I'm gonna do it. Will give me at least 35 gallon tank capacity, maybe 37 gallon, depends on what tank I get. I'll pick the tank with the smallest hole punched in it, the parts yards are savage about fuel tanks. Fixing them isn't a big deal, just takes patience to make sure they're scrubbed and ~90% full of water when being welded back up. Still scares the crap out of me every time I do it though.

    Comment


    • #47
      Grabbed a tank from a Gen2 Blazer, so the fuel sending unit isn't the correct one for the dash gauges. (Dash gauge wants 0-90 ohms, Gen2 blazer is 40-240 ohms) The solution, I think, is to cannibalize a Gen1 S-10 pump hanger and swap the sending units. Blazer pump arm is a different shape though, so either will need to be a gen1 blazer sender or will need some work. At least this sending unit has the correct pump hanger, no mods needed.

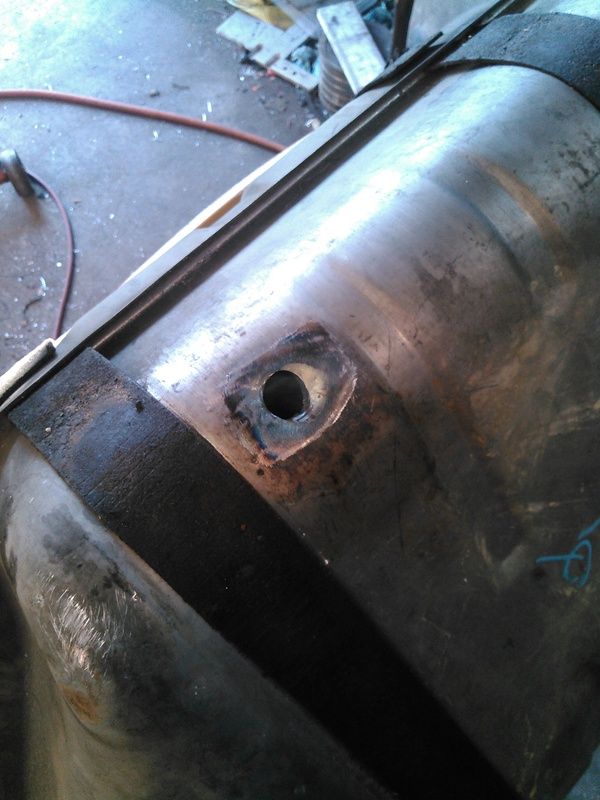
      I went to a new You-Pull yard today, was a boon as they don't slash the tank like most yards do, just a nice neat 25mm hole cut in.


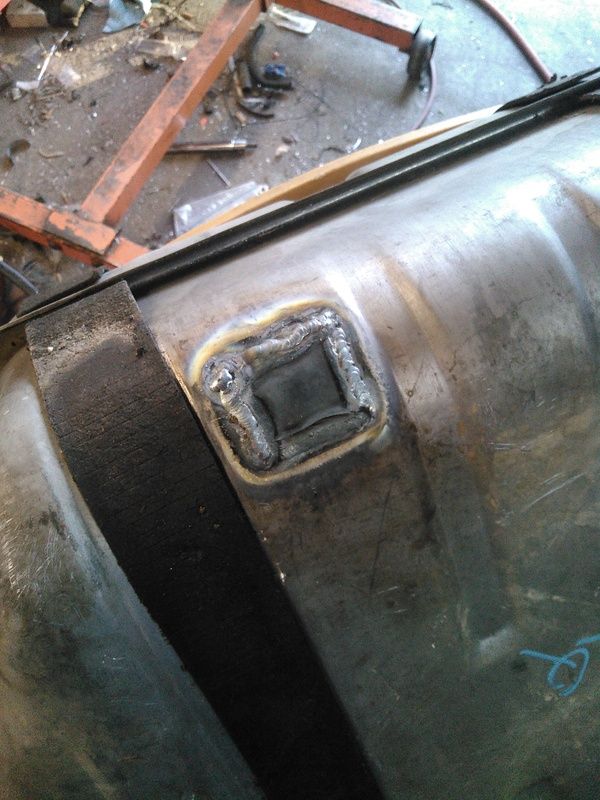
      A little file work to clean off the galvanization, slapped a patch on the tank, and pressure tested with water to 20PSI.


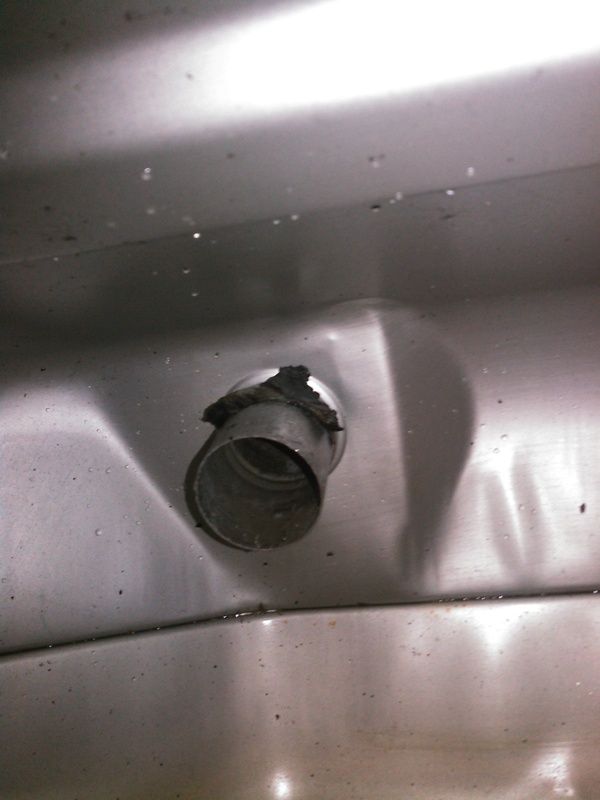
      Now I gotta get this bit of junk out of tank, it's pretty clean inside other than that.


      Tomorrow I'm gonna try to pull the bed off and see what I can get done as far as mounting the tank. I chopped out a fuel filler door from a Gen1 truck, just need to get the tank mounted and lock down the fuel door location along the length of the bed. I'm going to be cutting it in right at the same vertical level, so need to figure on how low the tank needs to be to make it fill correctly. Last thing I want is a tank that chokes at the pump, or that can't be filled at all!

      Comment


      • #48
        Heh, ten minutes after I posted the above, I managed to swap a spare Chevy sending unit onto the Blazer one. A little fiddling got the float arm on it, and whadda ya know, it works out to be 10 ohms to 100 ohms...supposed to be 0 to 90 ohms, but it seems close enough.

        Cut the foam wrap on the fuel pump to check the part number, whadda ya know, it's already been changed out for a Delco EP381...same pump I put in the front tank. Double score! Needs a new fuel strainer, I'll risk a lot but I won't risk that. Six bucks is cheap insurance for the junkyard pump.

        Now, a bit of wire, bit of steel, bit of swearing, and it'll all be together again.

        Comment


        • #49
          Have to run some fuel lines in the truck, so I started looking for a Parker Tubing Bead Roller tool to put proper hose beads in the end of the tubing. The price was SKY-HIGH for a new one and I couldn't find a used one, so I made a few of them myself. They seem to work just fine.


          Will be a big help in hose retainment on the high pressure fuel lines.

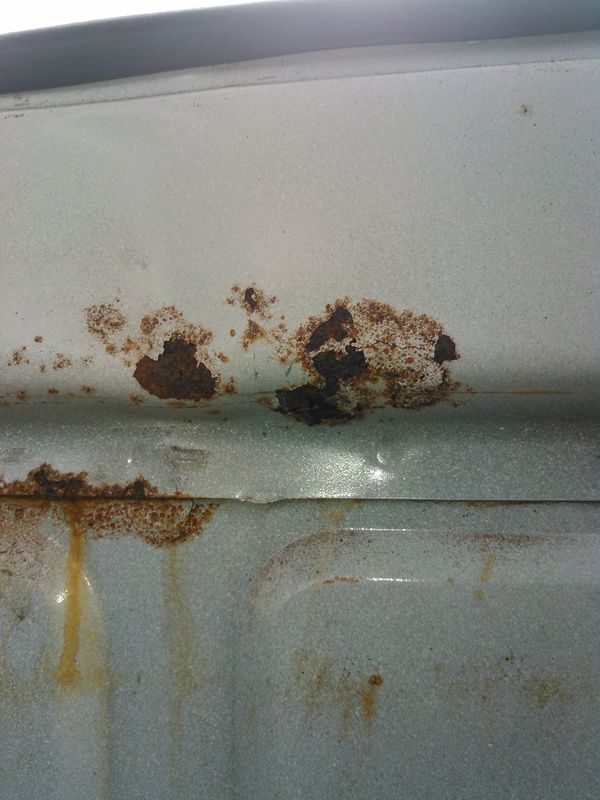
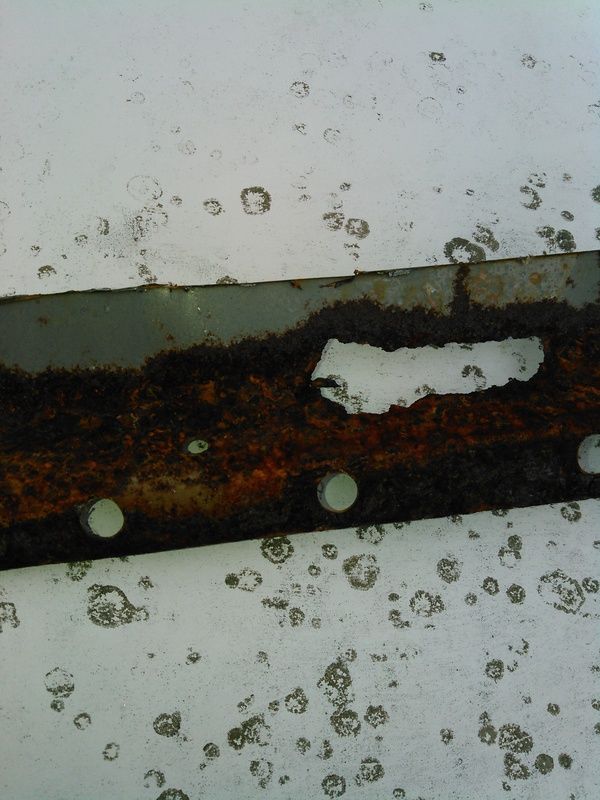
          Also started the rustectomy, this is the doubler panel behind the seat that is right below the rear window-the speaker wiring runs through here.


          Started cutting it out and this is what the back side looked like:


          The actual outside layer of the cab however was completely unrusty-just a little blackening, no pits or anything. A patch will get welded in and painted, job done.

          Also hit the big 2 today:


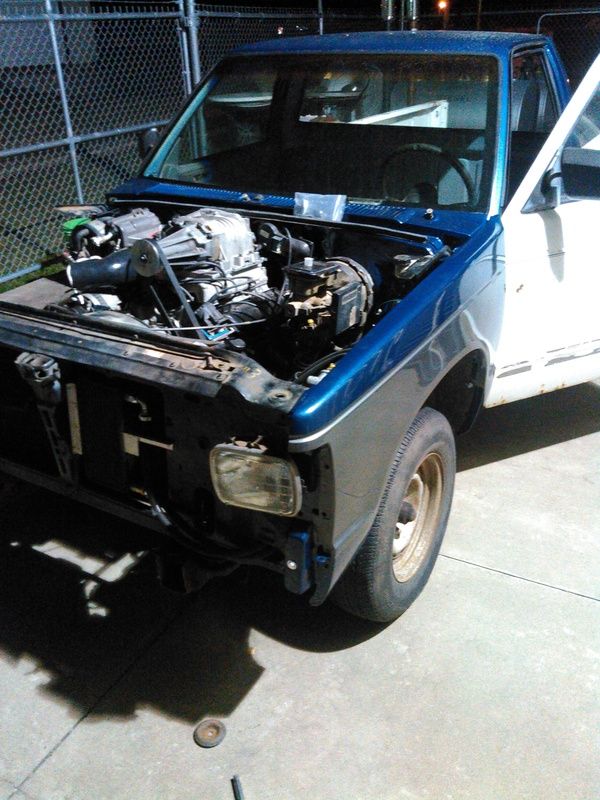
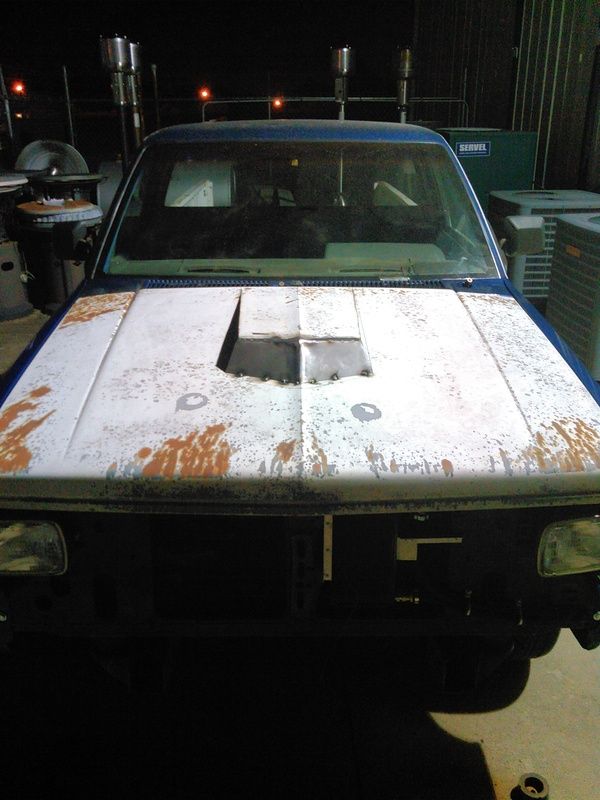
          Time to get on it and finish this engine swap. Only lack a little wiring and some hoses, and a little sawz-all work on the hood...

          Comment


          • #50
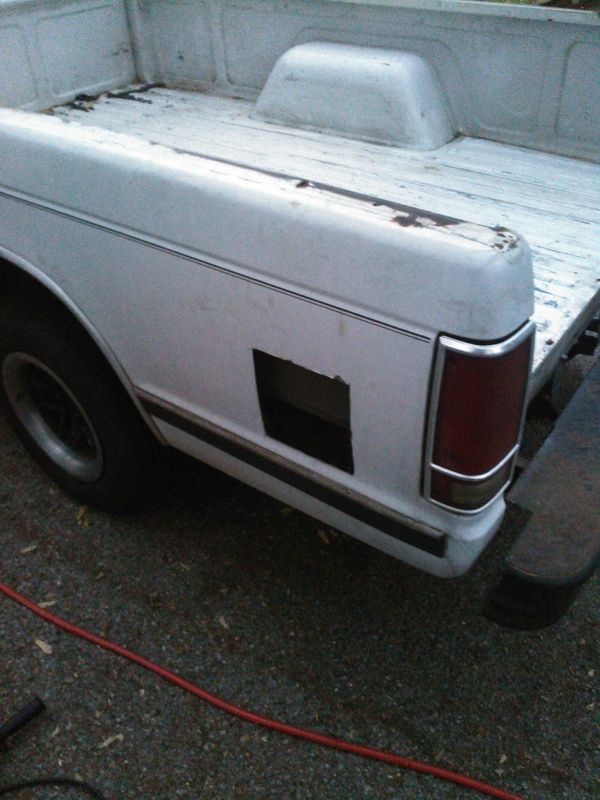
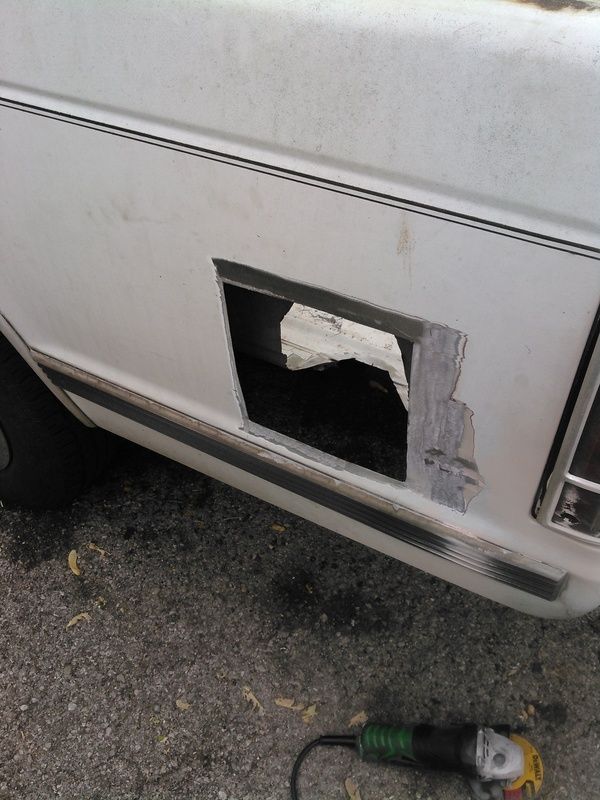
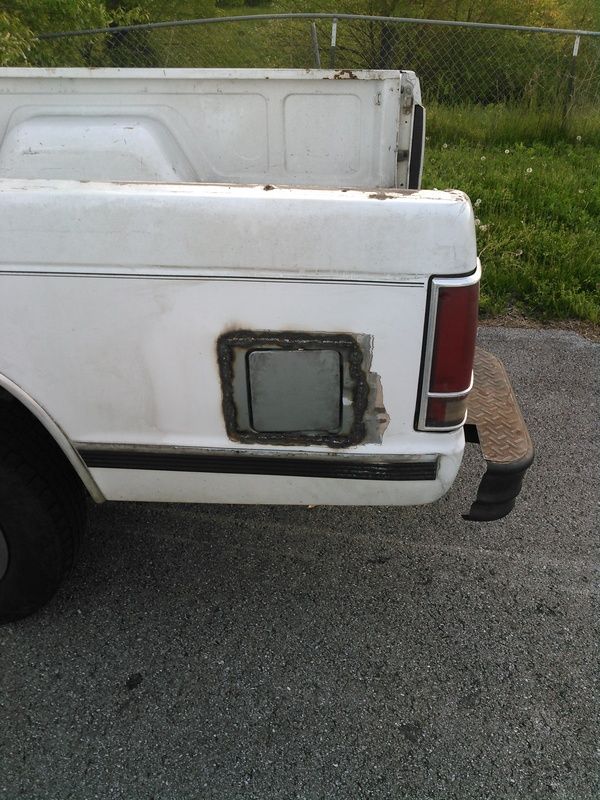
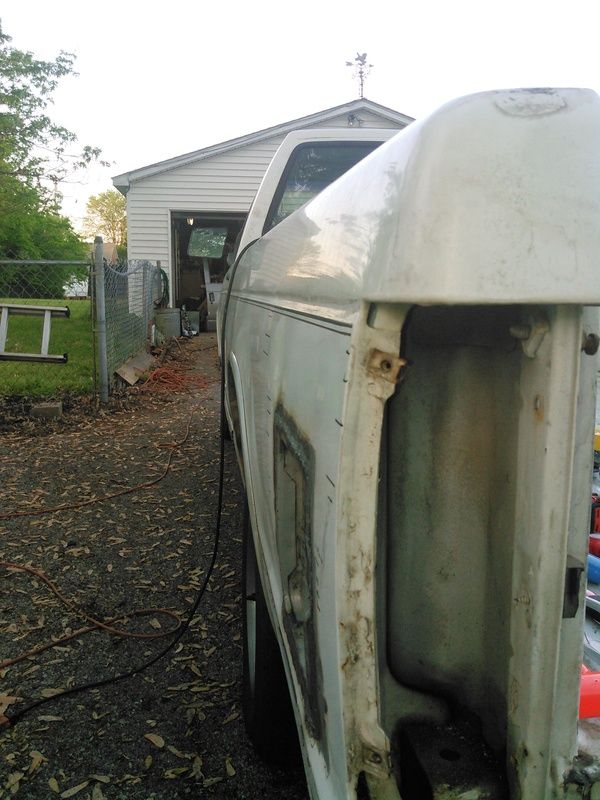
            Ok. So I chopped a hole in the bedside of the truck. (of the unreplacable bed...) Apparently, this truck is a "fleet" model, a standard cab and extra-long bed built on the extended cab chassis. The standard model has a 118.9" wheelbase, mine is 122.9"...so the bed bolts are "stretched". God help me if I screw it up too badly.


            No turning back now...

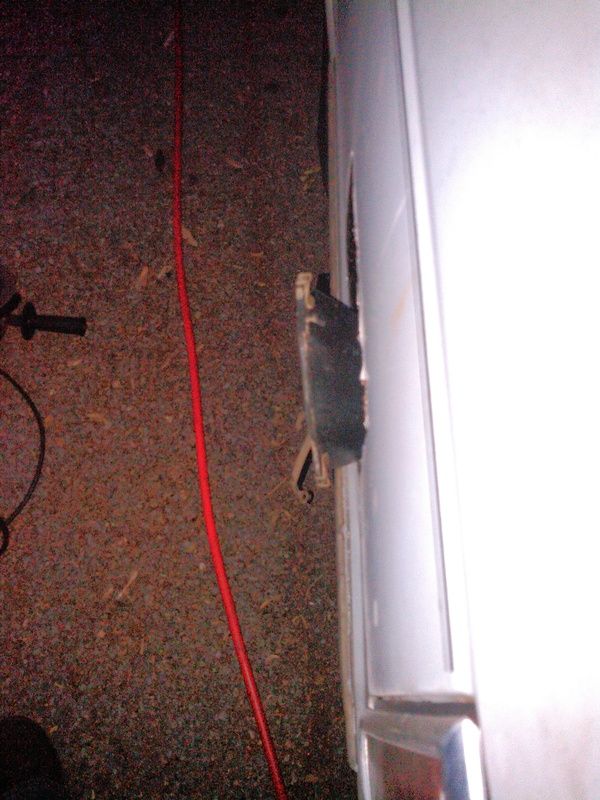
            Got a bit dark on me when I was taking some of these photos. Here, you can see that I will have to notch the inner bed wall and the bed floor to get the filler tube cup back into the body. I expected this, and it won't be a big issue. I'll chop out the bare minimum to get it fitted, then trim it up and close it in later.


            The bedwall cut out, now the filler cup fits nicely. The filler tube, however, needs some attention to get it to fit in such a way that it will let the tank fill without burping and spitting fuel everywhere.


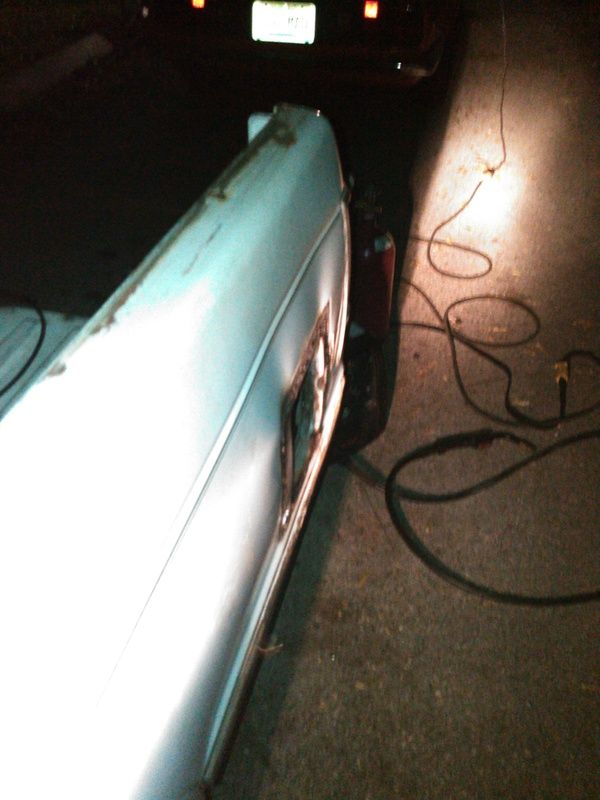
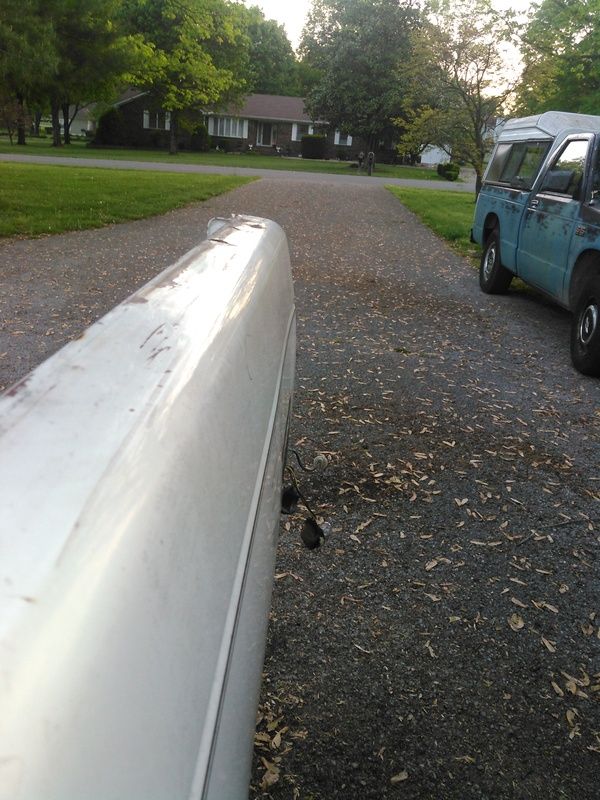
            Oh god, what have I done. TIG lead wouldn't stretch far enough so I MIG welded it into the truck. Got carried away and went too fast, tried to work it too hot...The flashlight really highlights the warpage.


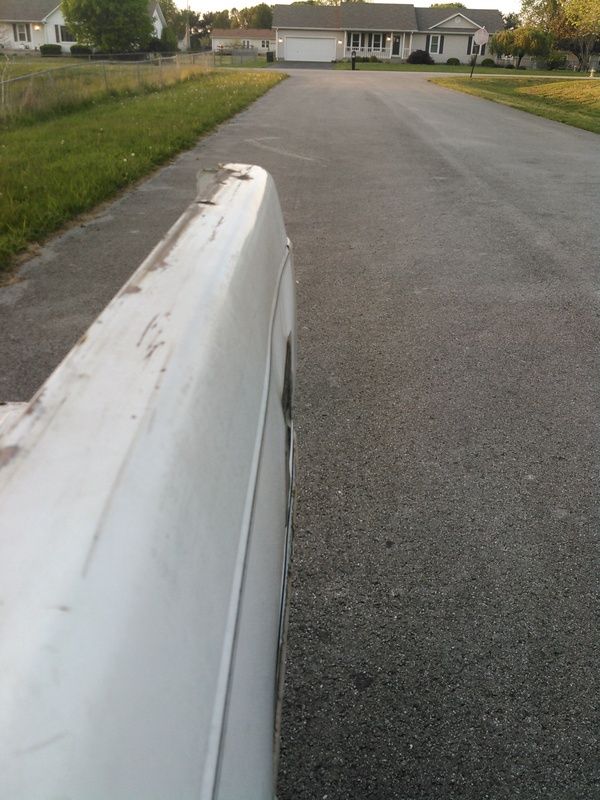
            The bottom edge is right next to (admittedly an already dented) body line, so it was much more rigid and took maybe five minutes to straighten up. The top edge, as you can see below, was not so polite in it's decision to move around.


            However the door is in the panel straight and square and is dead nuts level with the front fuel door. Once the panel is straightened up and painted, I think it'll look fine.


            Now, Today I started straightening up the panel. Using a combination of PDR tools and normal body hammers, the weld has been peened out to stretch it some and let it move, and the PDR tools are just perfect for working inside the 25mm-ish panel gap between the bed well and the outer skin. I made it this far before I got tired of messing with it and decided to eat dinner.


            Still a big low area to work out, but 95% of that will come out with more weld peening and a little more pushing. Once the fuel door edges are where they belong and the panel is close'nuff I'll just skim-coat it and call it good.

            In other fronts, I'm down to 8 wires left to work out, mostly trying to match them up with the dash wiring of the truck. I don't have a *good* wiring diagram for the dash, everything I find seems pretty generic and doesn't really match up well. Final PCM harness testing commences here in about five minutes.

            Comment


            • #51
              PCM harness tested out good, no problems anywhere. I'm still trying to work out the behavior of the clutch anticipate switch, the air conditioning, and some of the dash gauge feeds, but there are only 8 wires left to go. Most of those have to wait until the engine is in the truck, though.

              The exhaust headers need to be finished, then the oil cooler parts need to be mounted and lines run. The intercooler lines need to be run and the parts permanantly mounted. I need to get off my lazy butt and relocate the battery, so I can mount the air filter housing. Then, after run-in, the whole thing comes apart for paint.

              Comment


              • #52
                Soooo, I'm gonna paint this thing I think, prior to the run-in.

                Comment


                • #53
                  Not much going on with this lately, lots of parts stacking up getting ready to paint the truck.

                  Basically when I pull the old engine out, I'm going to strip and prep the firewall, I have to fix some rust on the firewall anyway. Then I'll shoot it in the proper color, (which is black, like the inner fenders, because easy) and re-assemble it with the new engine. Hoping to cut down on scrapes and dings in the new paint and also to only have to take it apart the one time. Once the firewall is painted, the rest of the cab can be shot in color while still on the frame-no big deal. This is the handiest way for me to do it. Also the easiest and cheapest, rather than shooting the firewall in 2-stage like the rest of the truck.

                  Comment


                  • #54
                    So this happened...

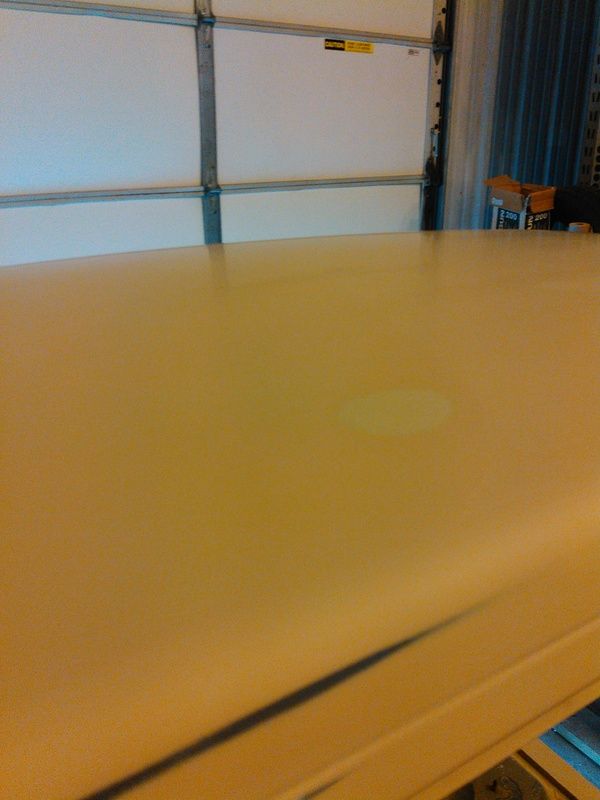
                    There are some bugs to sand out. One bug in particular jumped onto the panel RIGHT as we were spraying the first coat of clear and I didn't catch him until we were done...he is perfectly preserved for eternity. The rest of them will sand out, as they're standing on top the clear.

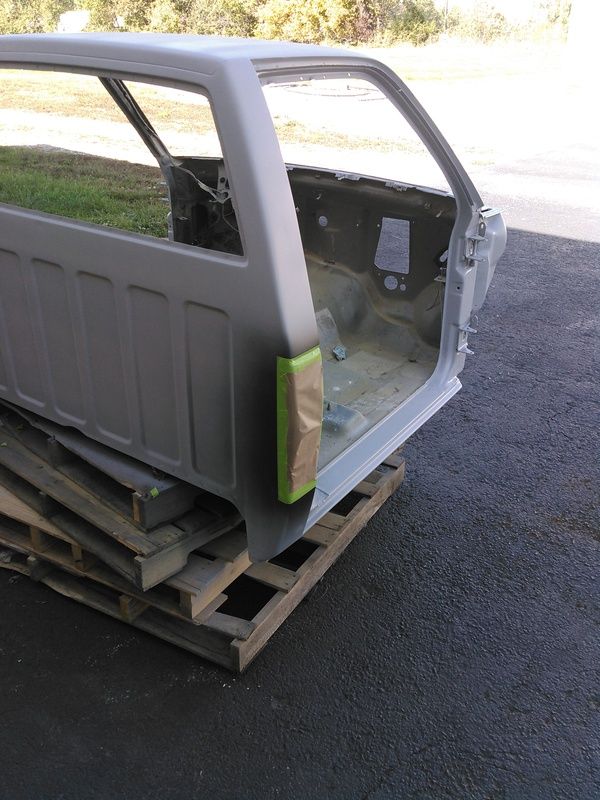
                    Now THIS is what primer should look like off the gun, alright alright!


                    Sanded out to 600 grit wet, that spot of sanded-through-to-filler will bite me in the ass later:


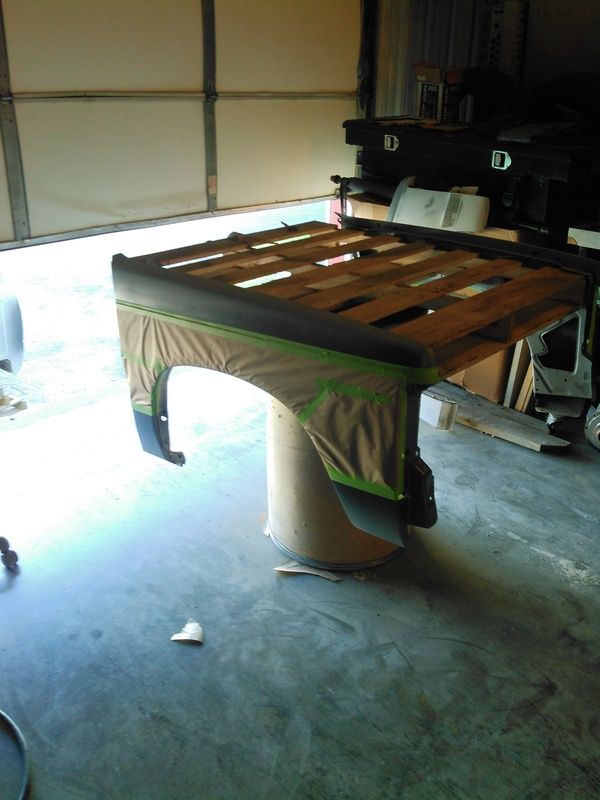
                    Totally spaced on getting any shots of the sealer...it makes the whole thing feel like a grey plastic milk jug, and you totally doubt it'll look any good at all in that stage. Oh well. Also spaced out on getting photos of the minor color-because I'm a doof. I do have shots of masking over the gunmetal getting ready to spray today, though!


                    Taping over raw basecoat is not exactly recommended, but it works for me. I'll have to get a photo of WHY it's not recommended as I had an issue in one of the fenders, but it's way too late to fix it at the point I discovered it...I used the wrong type of masking paper and shot blue clean through it. One of the fenders has a tiny bit of blue overspray on top of the gunmetal, and since the metallic basecoat can't be sanded, nor wiped with reducer, and can only just be nibbed without fucking with it...I'll have to live with it and learn from it.


                    All taped up and ready to shoot the major color!


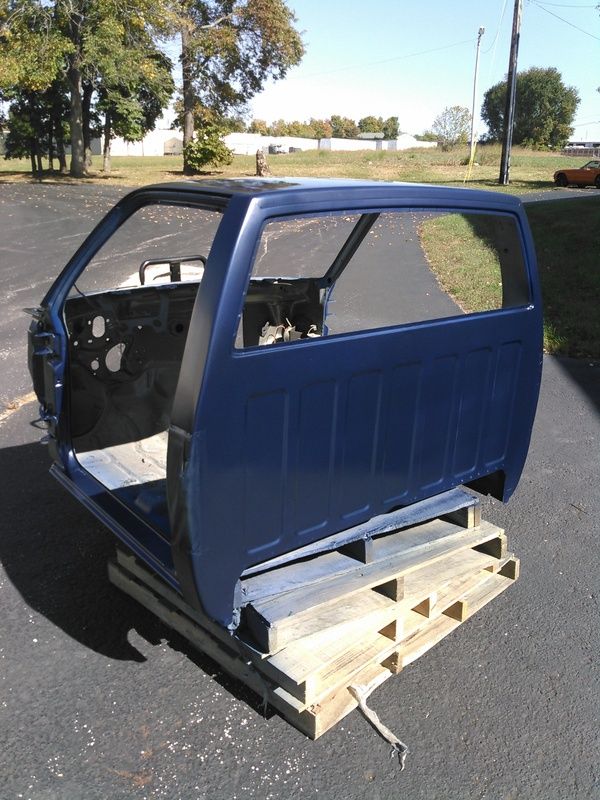
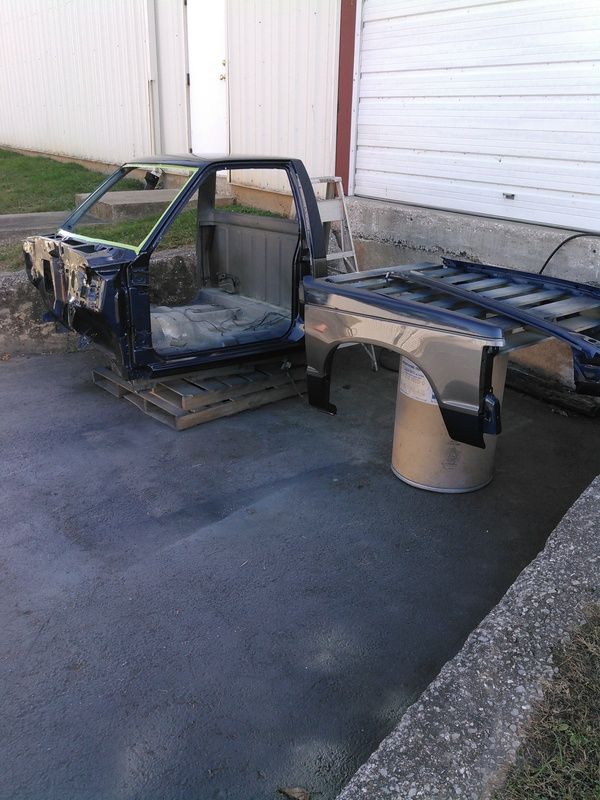
                    Blue is on, still taped up there. No clear on that yet...not too shabby for painting it on the loading dock!

                    Final clear on, letting it flash off here-the bugs don't show in the photos, but they're still there.


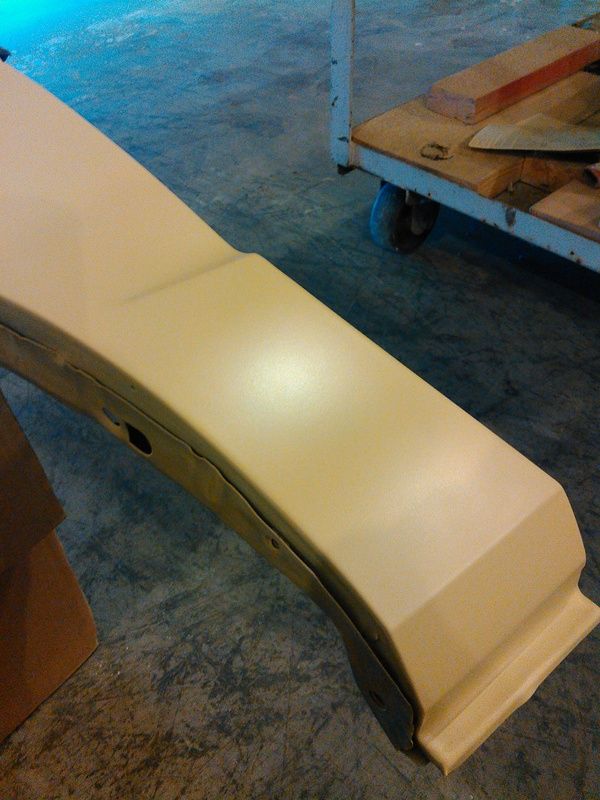
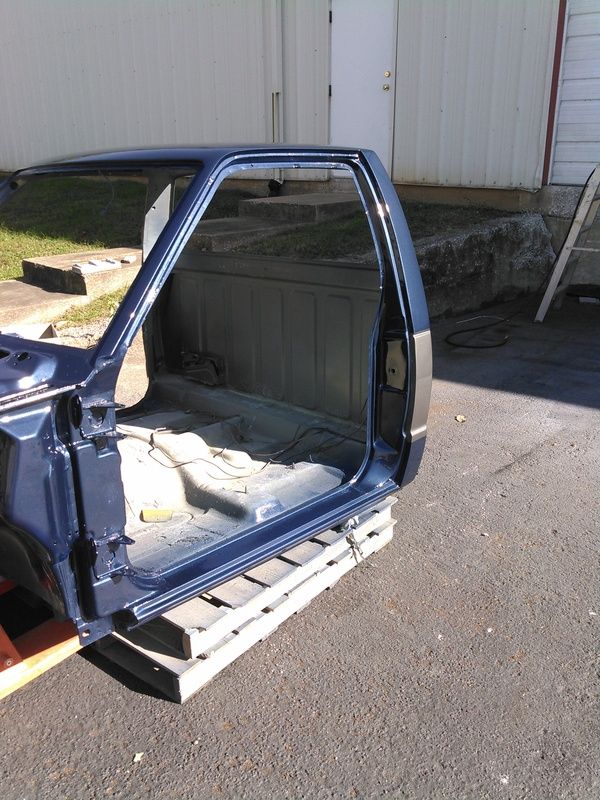
                    Drug the cab out into the sun to try and get some heat into it, and so we could see both colors together for the first time:


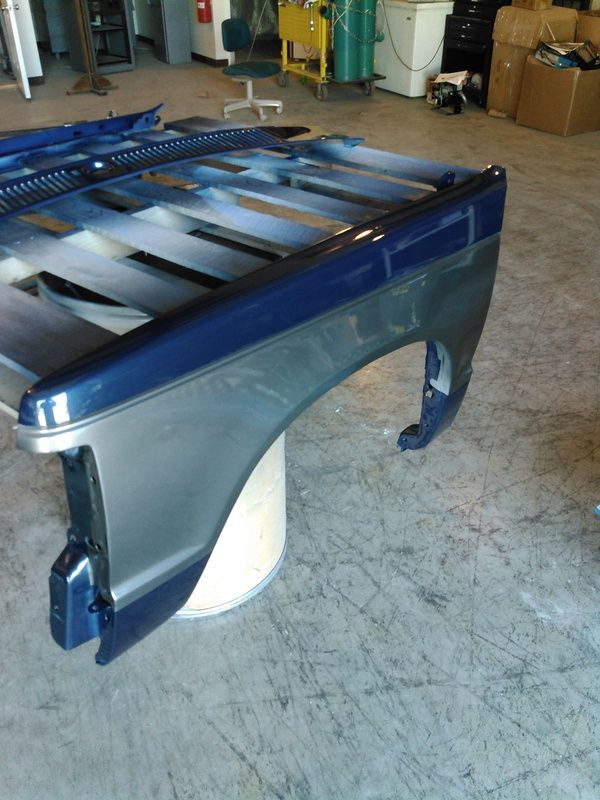
                    And the fenders under "streetlamp" type lighting, the sun was too bright to get a glare-free enough photo.


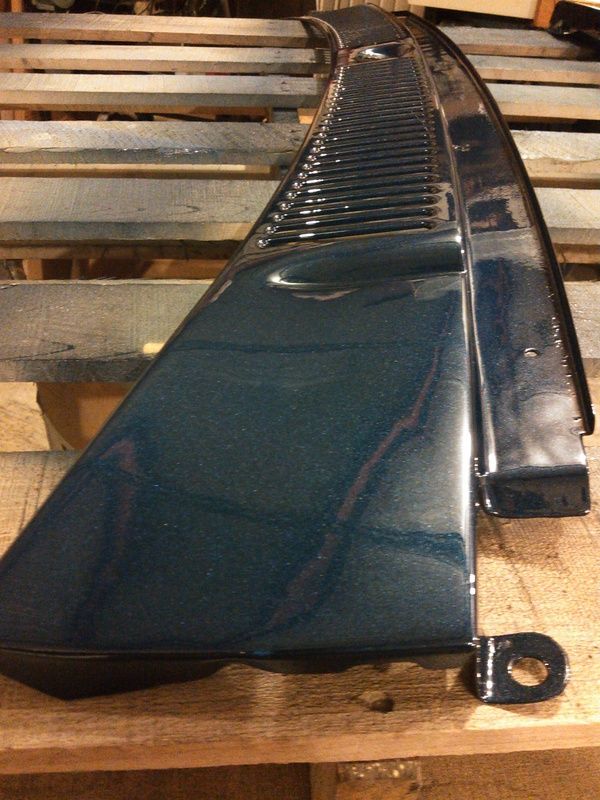
                    The cowl:


                    Pretty fuckin' stoked, guys. Pretty fuckin' stoked.

                    Comment


                    • #55
                      That's hot. I've always liked the blue-on-gray two tone ever since my old Celebrity wagon had it. I'm seriously considering having my current Century wagon done up in that scheme.
                      Kaiser George IX: 1996 Buick Century Special wagon. 213-SFI. 250k miles. Never gonna give you up, never gonna let you down. First documented LX9 swap in an A-body! Click here to read my build thread!

                      Comment


                      • #56
                        Cool. Hows the engine side coming along?
                        '86 Grand National

                        Comment


                        • #57
                          It cranks, but I'm short one 180* bend of finishing the driver's side header, so it hasn't been run more than long enough to get oil pressure. Once the header tube is fitted I'll run it in and get it out to the dyno. It's sitting at the combustion lab right now.


                          And with the hood on:

                          Comment


                          • #58
                            Wow some real decent fab skills, tag me when you get more progress!

                            Its runs!!!>>>Aint No 60* Sound Like Mehttp://youtu.be/YKEmNwa141U

                            Comment


                            • #59
                              So, got this all installed and running about a year ago. Dropped off this forum mostly because of time issues and photofuket screwing up the images, but the thing runs. I drove it down to florida for vacation, and over a 1560 mile round trip, I averaged 30.5MPG. The 94/95 OBD1.5 computer now does the 2Bar map sensor and wideband O2 sensor logging if you're up for installing a few electronicals inside the computer-no need to install anything in the box for the 2Bar MAP sensor, but the wideband O2 sensor input does need you to split the case.

                              On 5.5PSI, the t-5 trans blew 2nd gear and split the case. Still on 87 octane, too...this cylinder head design is amazingly knock resistant!

                              The Colorado/Canyon/H3 hummer MA5 transmission is a derivative of the Toyota Supra R154, and I am swapping that in later this week. I used the Dakota 2.5L bellhousing and Jeep Cherokee throwout bearing sleeve, throwout bearing, and clutch fork. The clutch is a 2.2L S10 clutch disk, and you could use the pressure plate as well but I drilled the flywheel to use a stiffer Nissan pressure plate.

                              The transmission is a little longer from the end of the bellhousing to the front of the shifter box-I am not sure yet if that will be an issue. Might have to trim the floor a smidge, and I'll definitely need to adjsut the driveshaft length a bit. Also, the input shaft pilot is dead flush with the front of the bellhousing-this may require me to make an extended pilot bushing. Not sure yet-but if I do NOT have to make an extended pilot bushing, then the 2.2L pilot bushing will fit.

                              After the new trans is installed, time to up the boost. I'm on a 3.8" pulley now, I have 3.6, 3.4, 3.3, 3.2, and 3.0" pulleys made up and waiting.

                              Comment


                              • #60
                                first time ive seen this thread, pretty cool build. im helping a friend out doing a 3400 supercharged swap in his 89 mazda b2200. we are using a t-bird m90, and using a t5. im half expecting it to kill the t5, but a t5 can be built to take some power with the right gear set.

                                Comment

                                Working...
                                X