 Tweet
Tweet
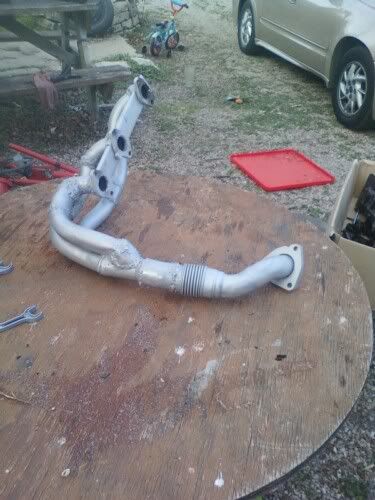
I don't think I've ever posted these pics here. the DP is about 3 years old and the manifold work was done when my engine/trans was out for a trans rebuild 2 years ago.
I don't remember what I all did exactly off the top of my head....
-ball joints
-tie rods
-Poly A-arm bushings
-exhaust manifolds
-various gaskets whether leaking or not
-full trans rebuild
-yada yada
It's amazing how much it woke the engine up and the sound is PERFECT. I have a large port swap in the planning now, so i'm anxious to see how much that helps w/ the better flow it will have.
Here is what it sounds like right now.
MODS:
-Custom front manifold - 1 5/8" primaries to 2" Log
-2" X-over
-Ported rear manifold
-2.5" Down Pipe
-2.5" In/Out cat
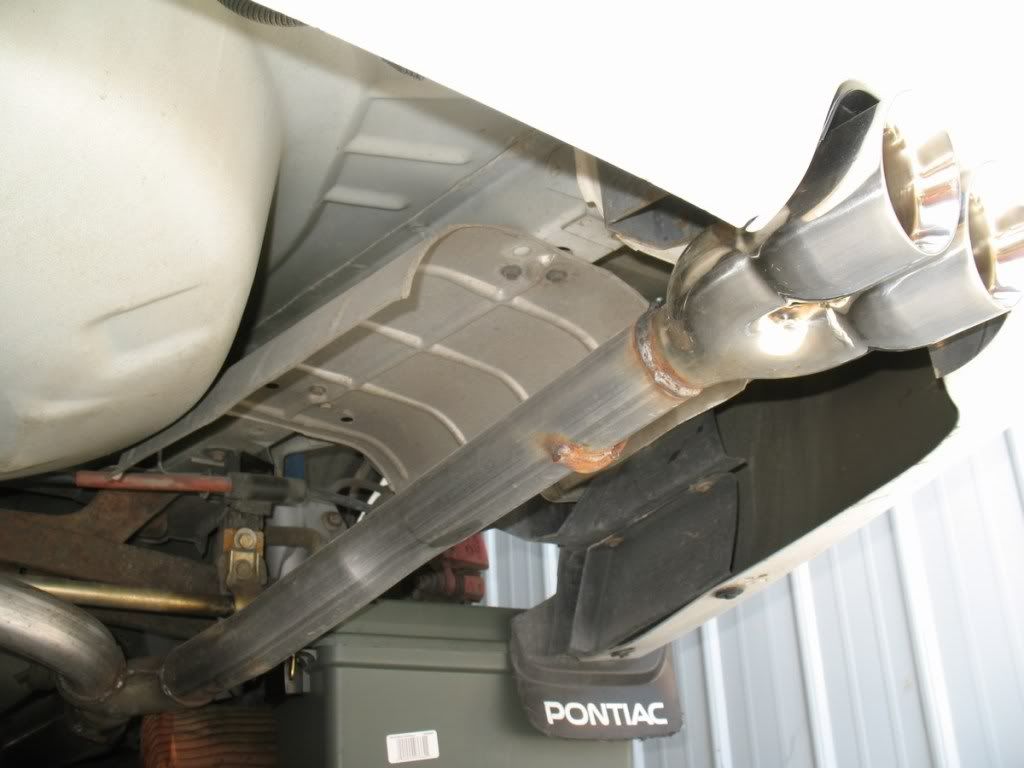
-2.5" piping back to 2.5" x 18" Vibrant Resonator
-2.25" Y
-C6 Corvette Tips
Here is a smattering of pics.

And here are a few random shots. My welding skills aren't all that great, but the stuff holds, and that's all that counts right... I had fun doing it for ~$200 in materials (high-temp paint and ss flex were expensive). I plan on taking welding classes and redoing it in stainless someday when I have a better 60* in there.
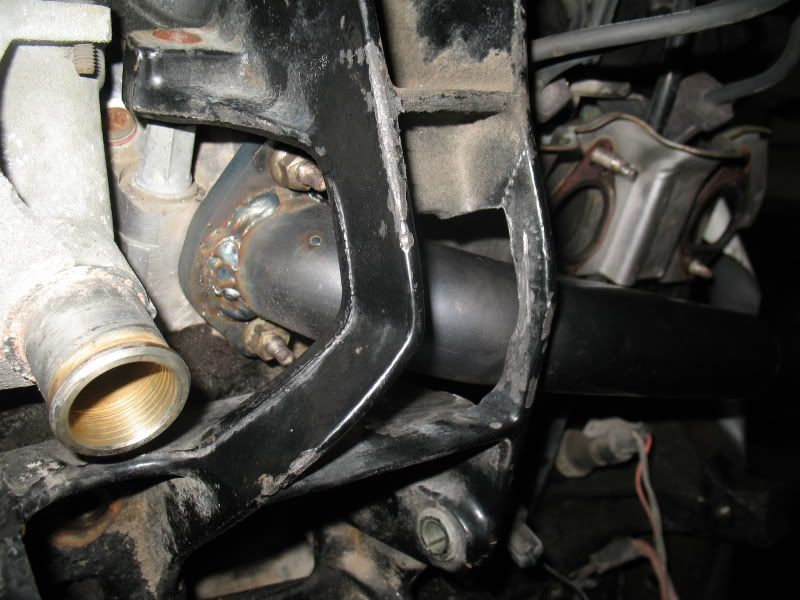
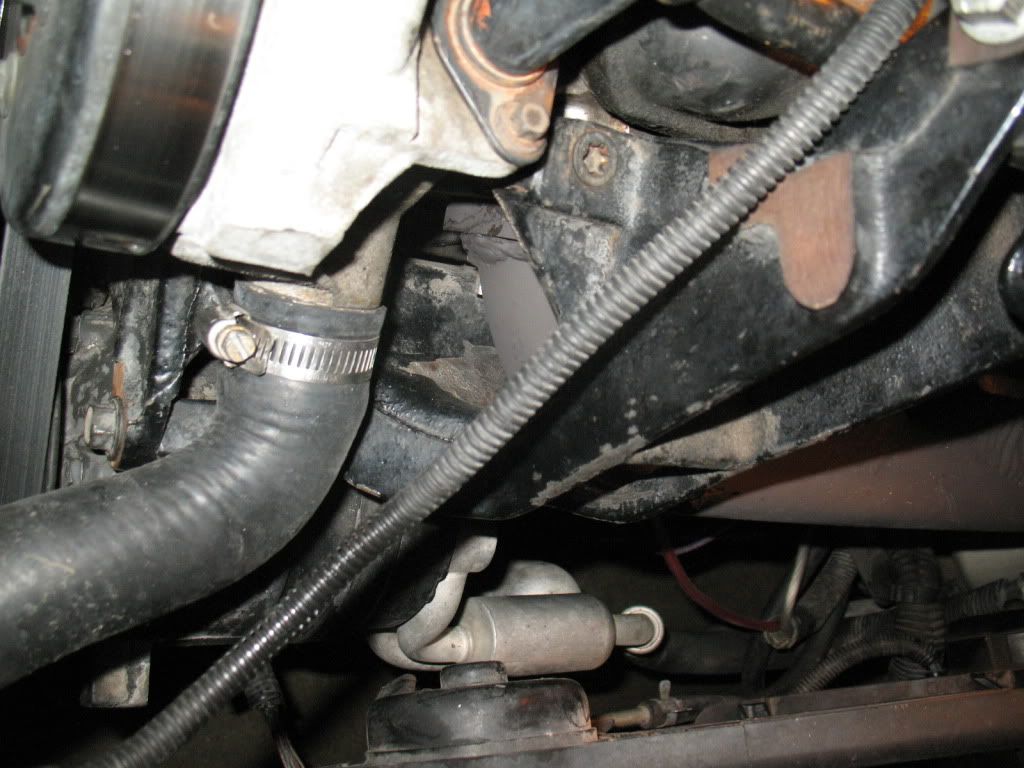
of course I had to cut the engine mount
Had flanges cut at work. I made them ~.06" bigger than stock IIRC
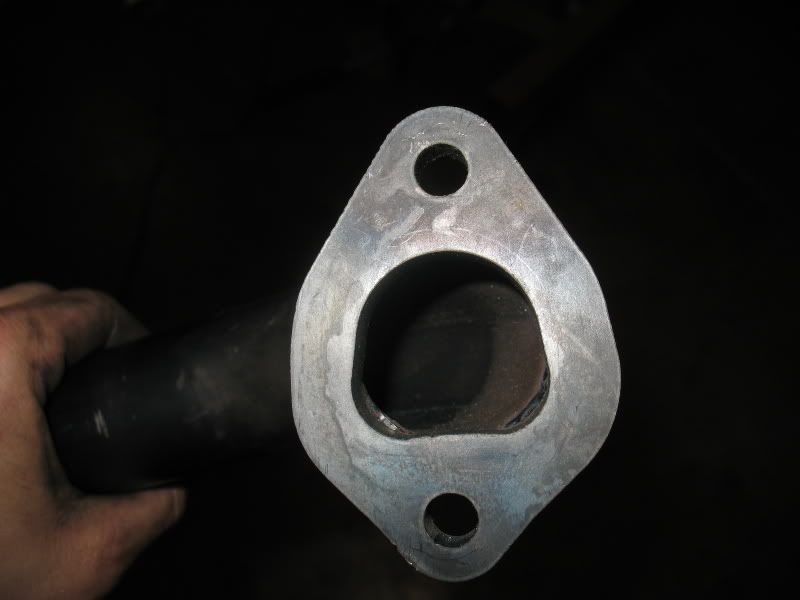
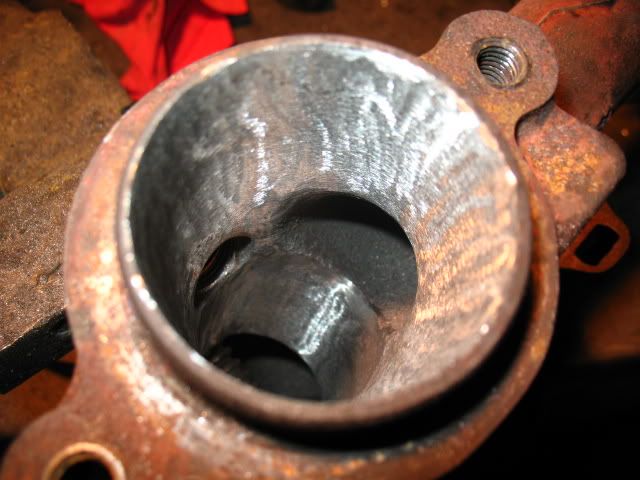
I hogged the living PISS out of the rear manifold where it meets the x-over and DP. I couldn't believe how much material was there. I used up two carbide bits w/ my dads die grinder. I know that helped the flow right there.


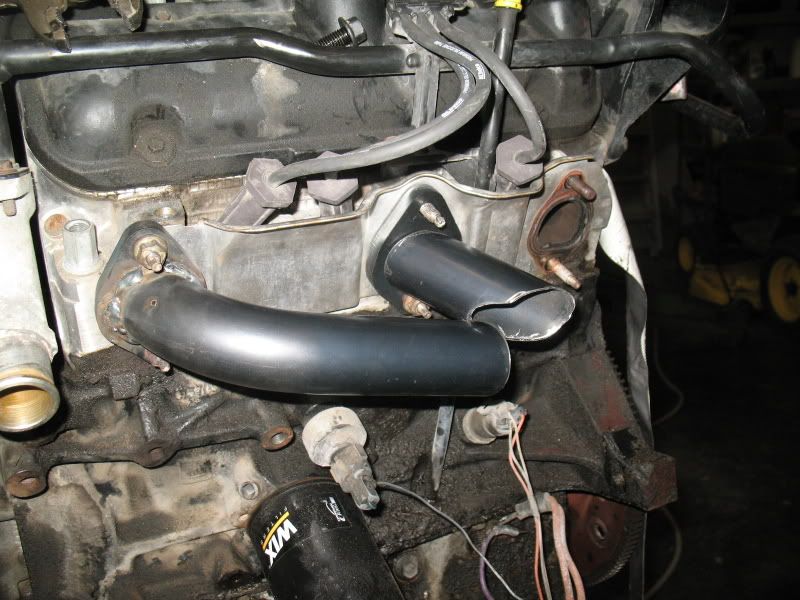
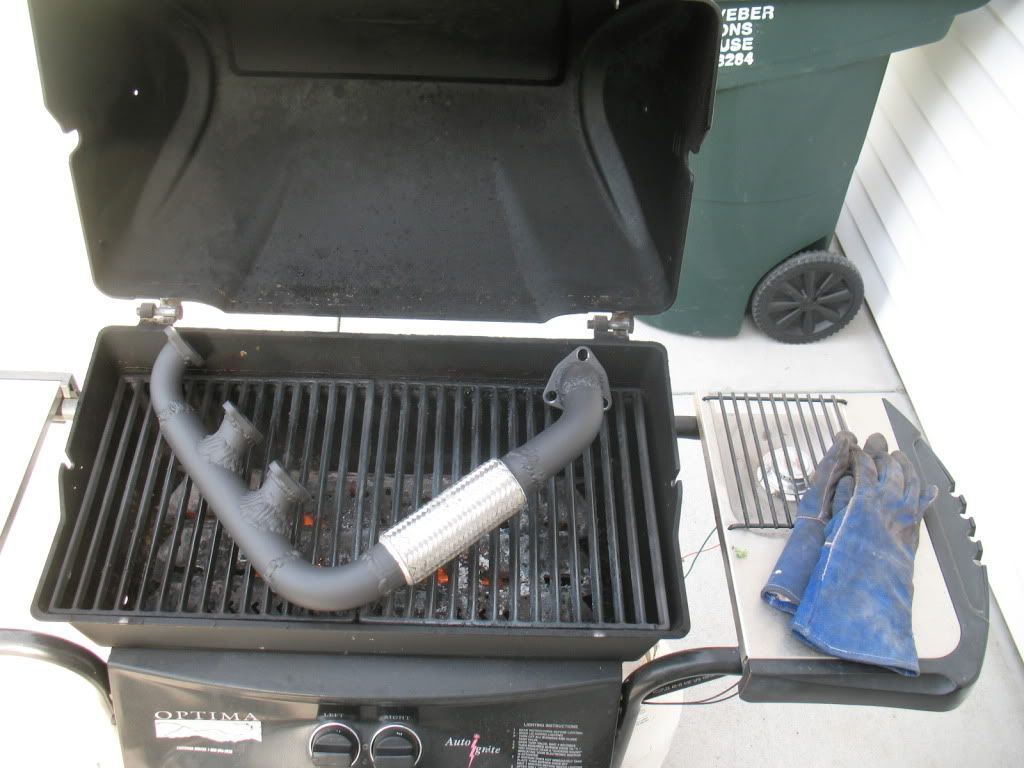
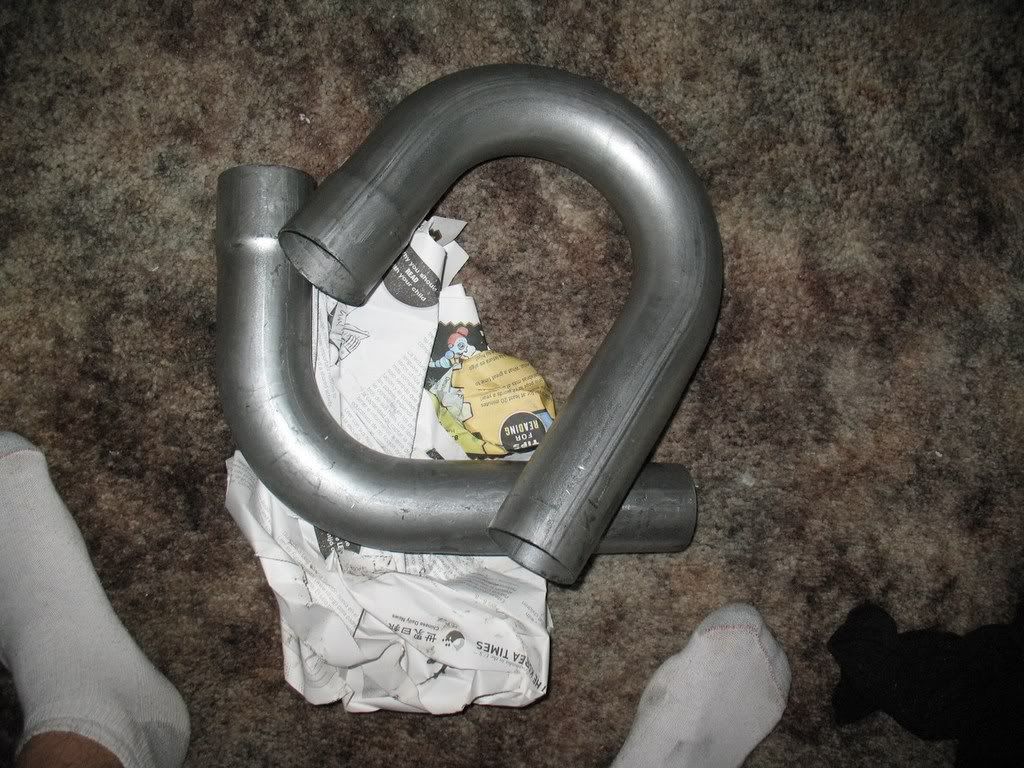
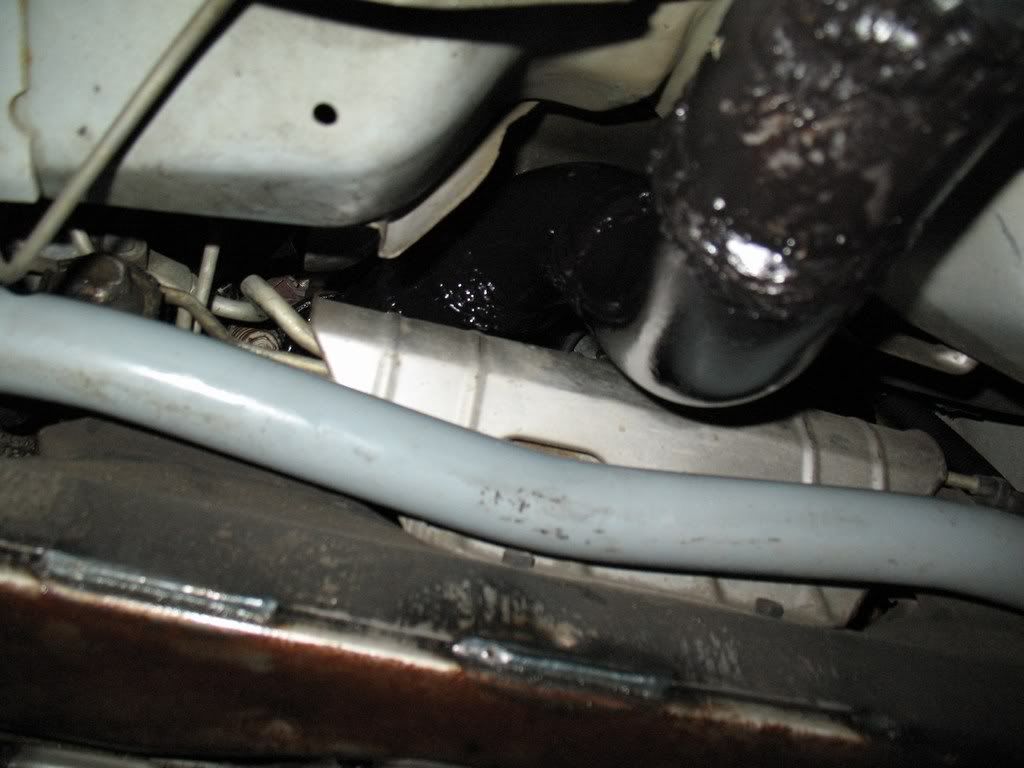
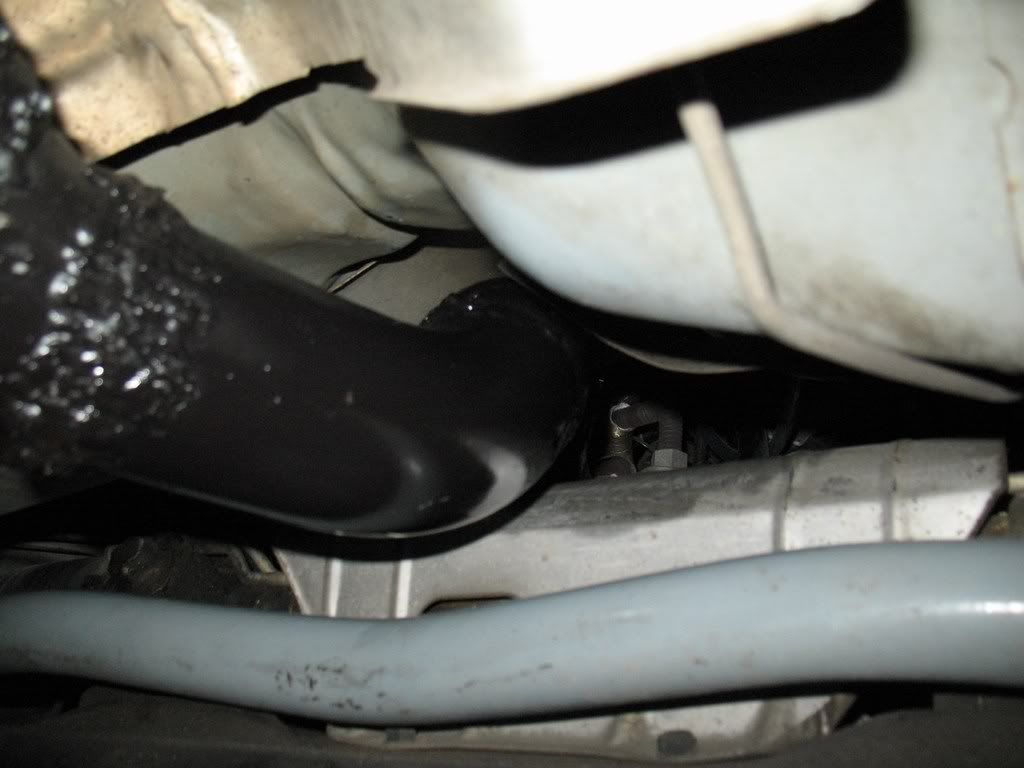
The final product.
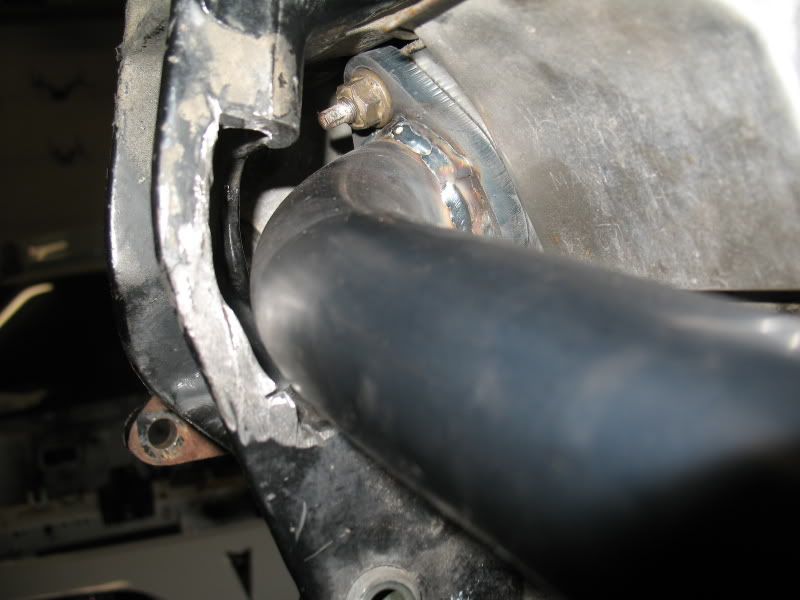
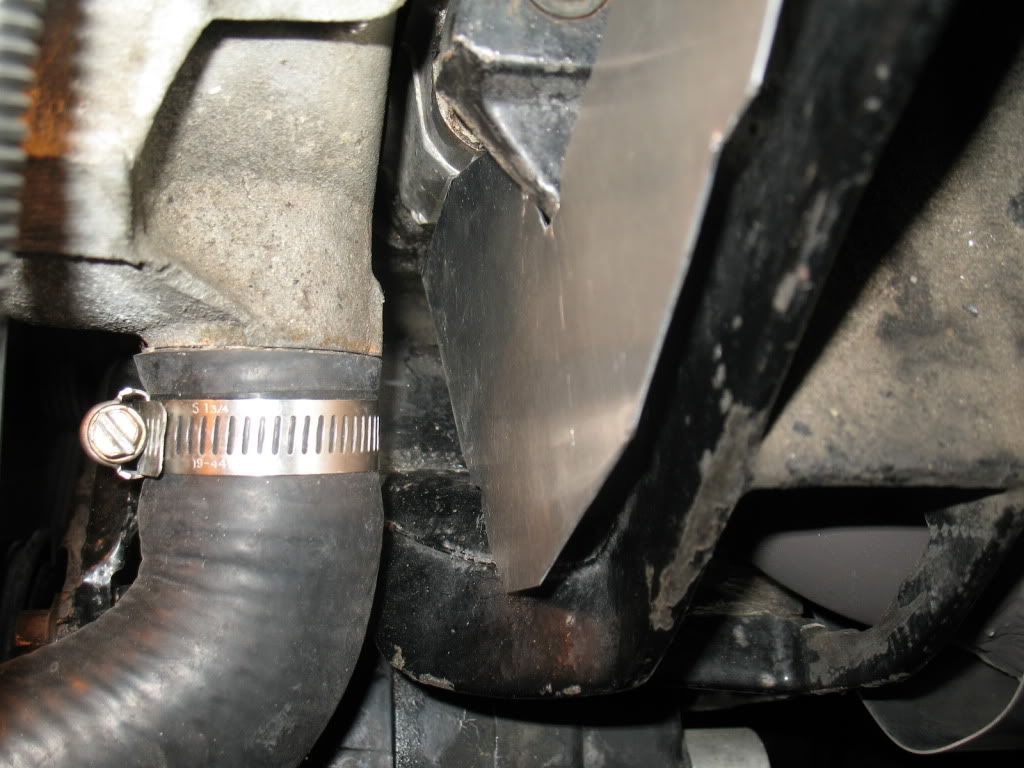
I had to put a shield on the engine mount next to the water pump as the exhaust is right there and I was afraid it would cook that poor hose.
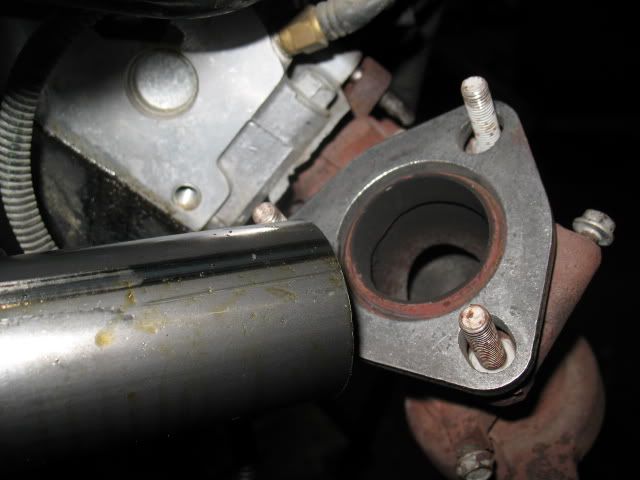
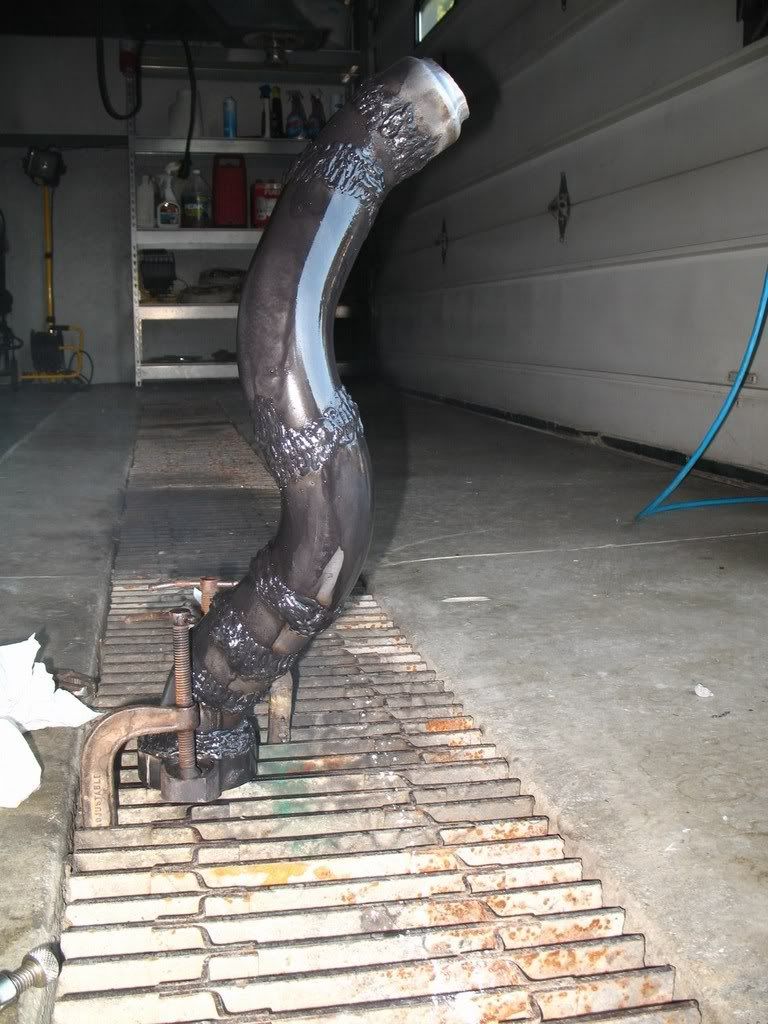
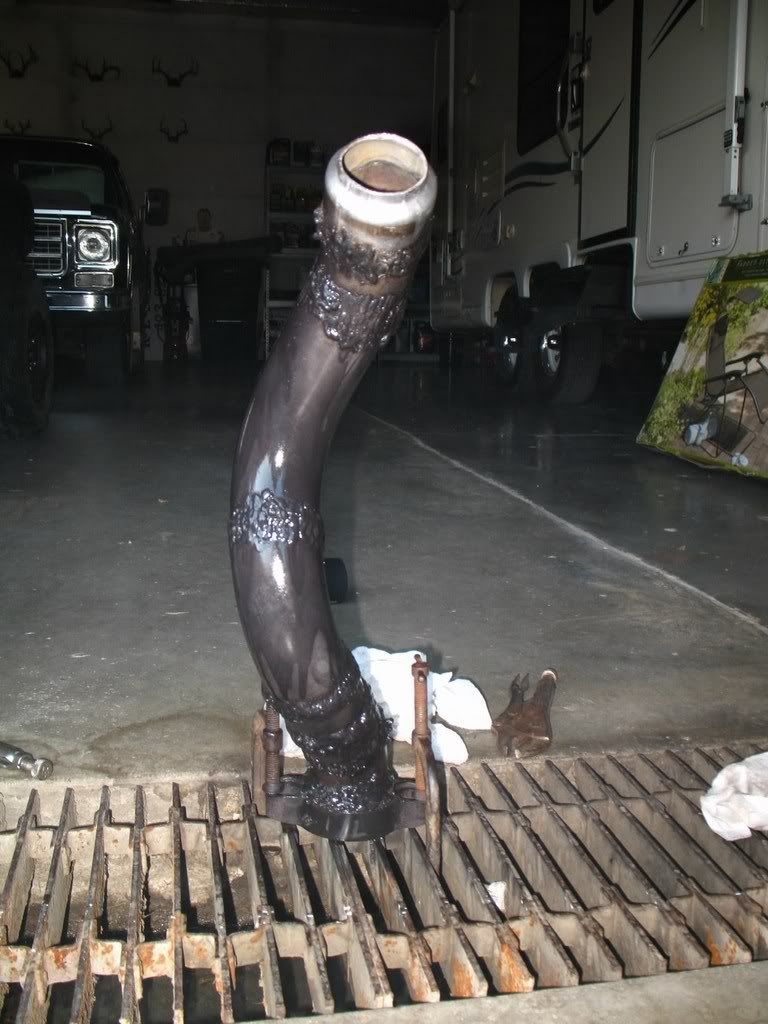
Down pipe. Started with some random 2.5" piping for $50
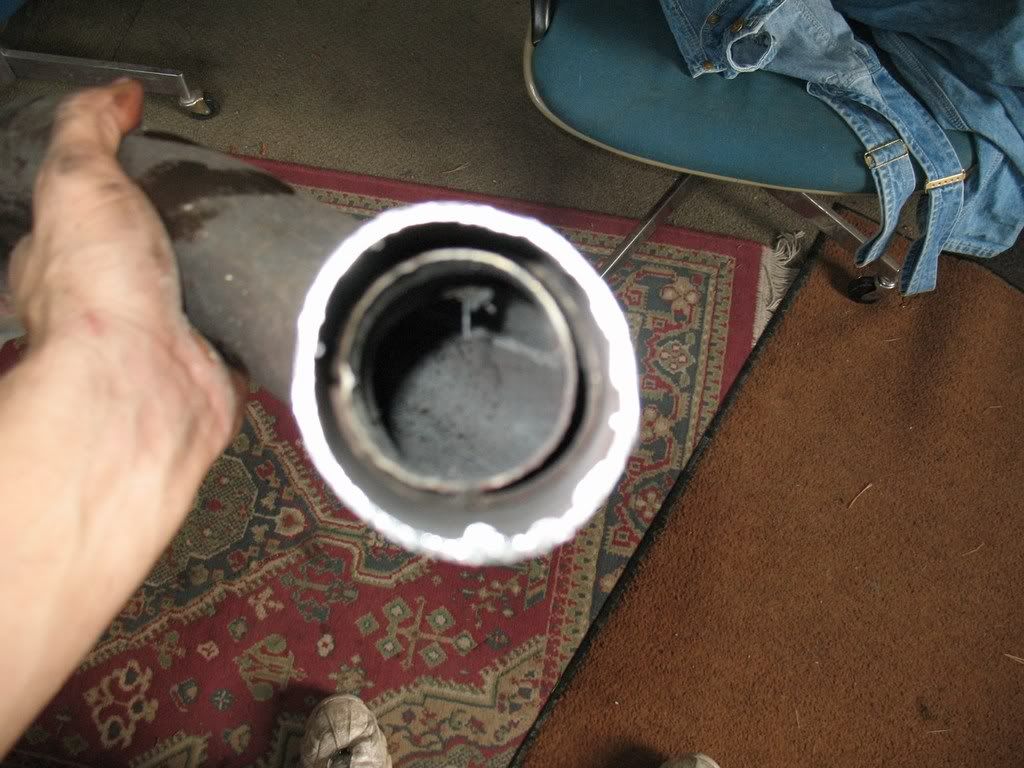
stock.....tiny as shit inside. I was disgusted. A hair over 1.5"....sickening.
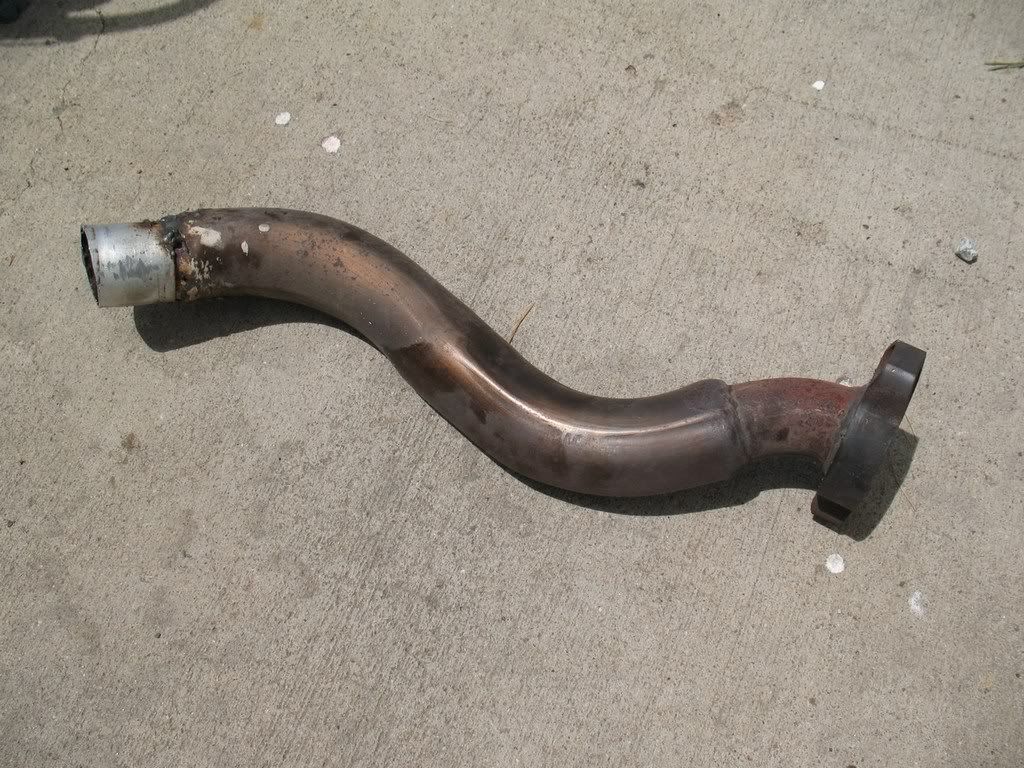
I cut the stock flange off and used it. Again, not the prettiest welding by a LONG shot....but it's held for a few years not and still look ok. It was a PITA getting it to fit....took ~4 hrs of cutting, test fitting, welding, test fitting, test fitting, test fitting. I about pulled my hair out.
Not much room there.......
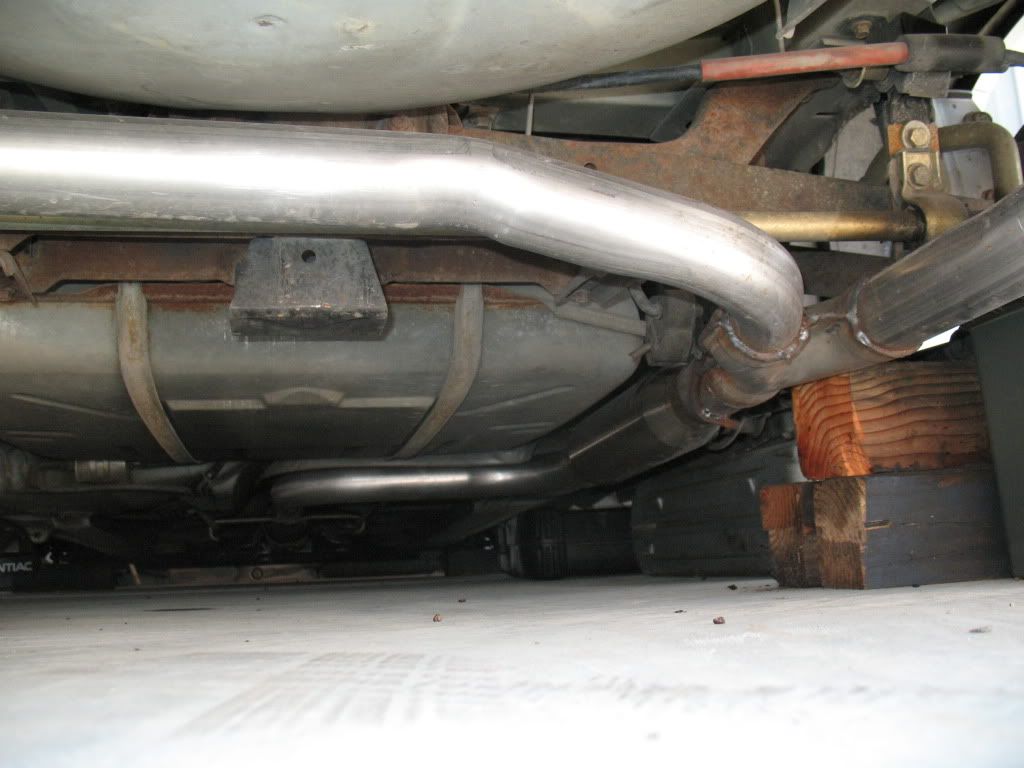
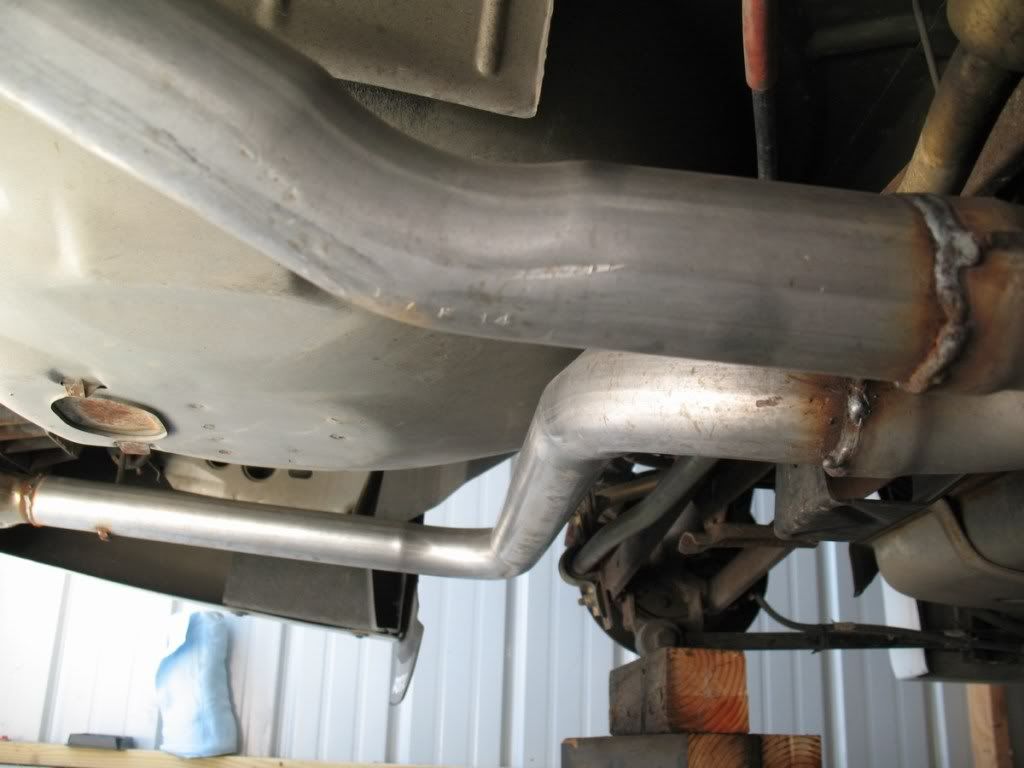
here is the rest of the exhaust. I had an exhaust shop do it as they could do it way faster than I.
I don't remember what I all did exactly off the top of my head....
-ball joints
-tie rods
-Poly A-arm bushings
-exhaust manifolds
-various gaskets whether leaking or not
-full trans rebuild
-yada yada
It's amazing how much it woke the engine up and the sound is PERFECT. I have a large port swap in the planning now, so i'm anxious to see how much that helps w/ the better flow it will have.
Here is what it sounds like right now.
MODS:
-Custom front manifold - 1 5/8" primaries to 2" Log
-2" X-over
-Ported rear manifold
-2.5" Down Pipe
-2.5" In/Out cat
-2.5" piping back to 2.5" x 18" Vibrant Resonator
-2.25" Y
-C6 Corvette Tips
Here is a smattering of pics.
And here are a few random shots. My welding skills aren't all that great, but the stuff holds, and that's all that counts right...
of course I had to cut the engine mount
Had flanges cut at work. I made them ~.06" bigger than stock IIRC
I hogged the living PISS out of the rear manifold where it meets the x-over and DP. I couldn't believe how much material was there. I used up two carbide bits w/ my dads die grinder. I know that helped the flow right there.
The final product.
I had to put a shield on the engine mount next to the water pump as the exhaust is right there and I was afraid it would cook that poor hose.
Down pipe. Started with some random 2.5" piping for $50
stock.....tiny as shit inside. I was disgusted. A hair over 1.5"....sickening.
I cut the stock flange off and used it. Again, not the prettiest welding by a LONG shot....but it's held for a few years not and still look ok. It was a PITA getting it to fit....took ~4 hrs of cutting, test fitting, welding, test fitting, test fitting, test fitting. I about pulled my hair out.
Not much room there.......
here is the rest of the exhaust. I had an exhaust shop do it as they could do it way faster than I.


Comment