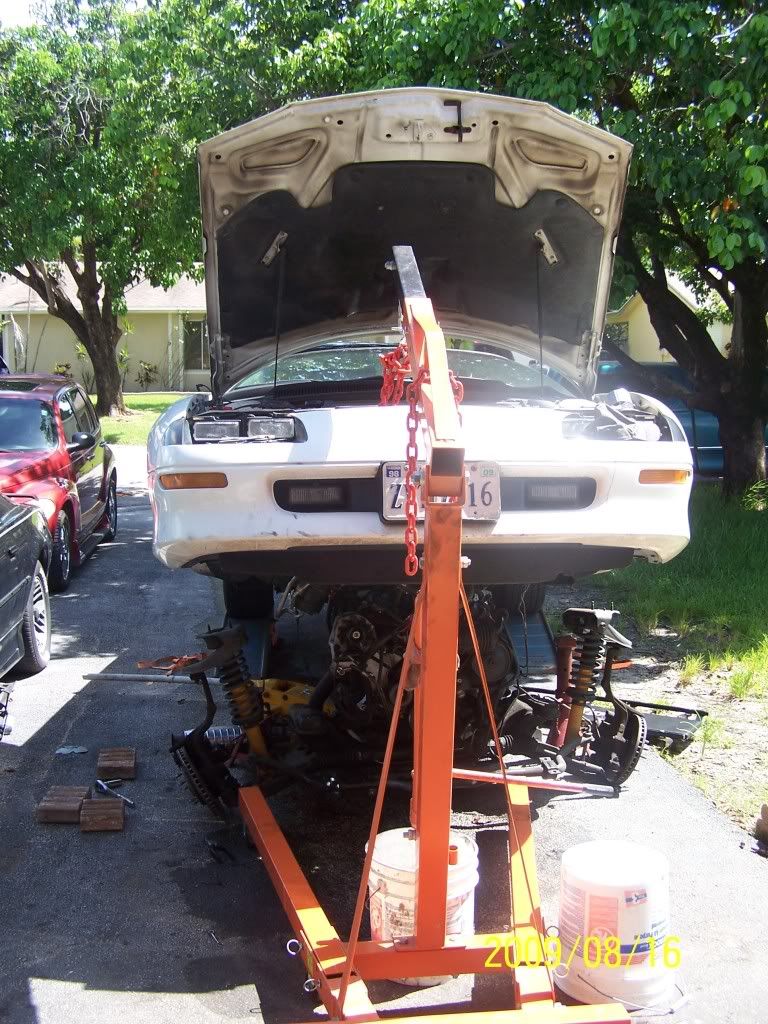
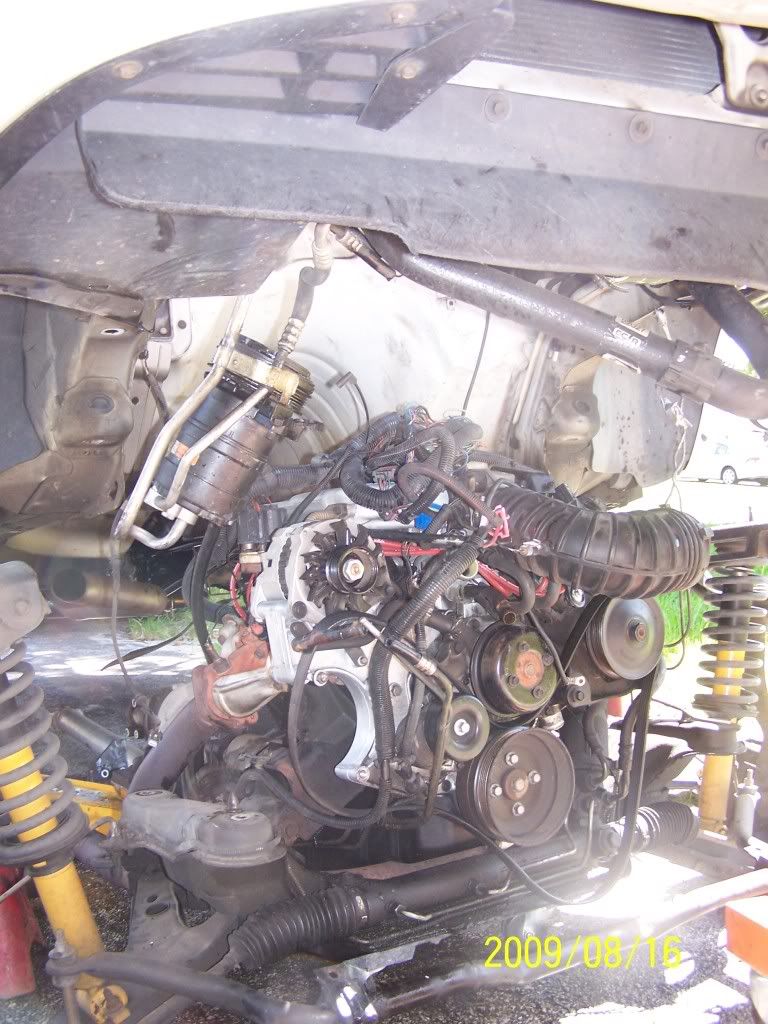
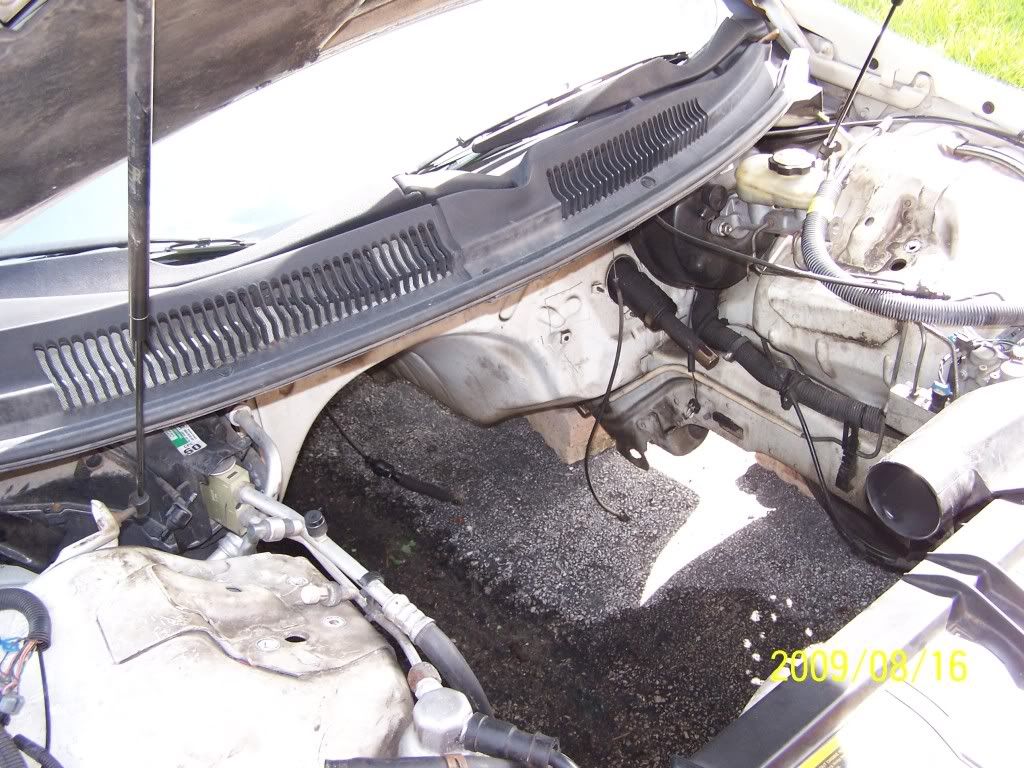
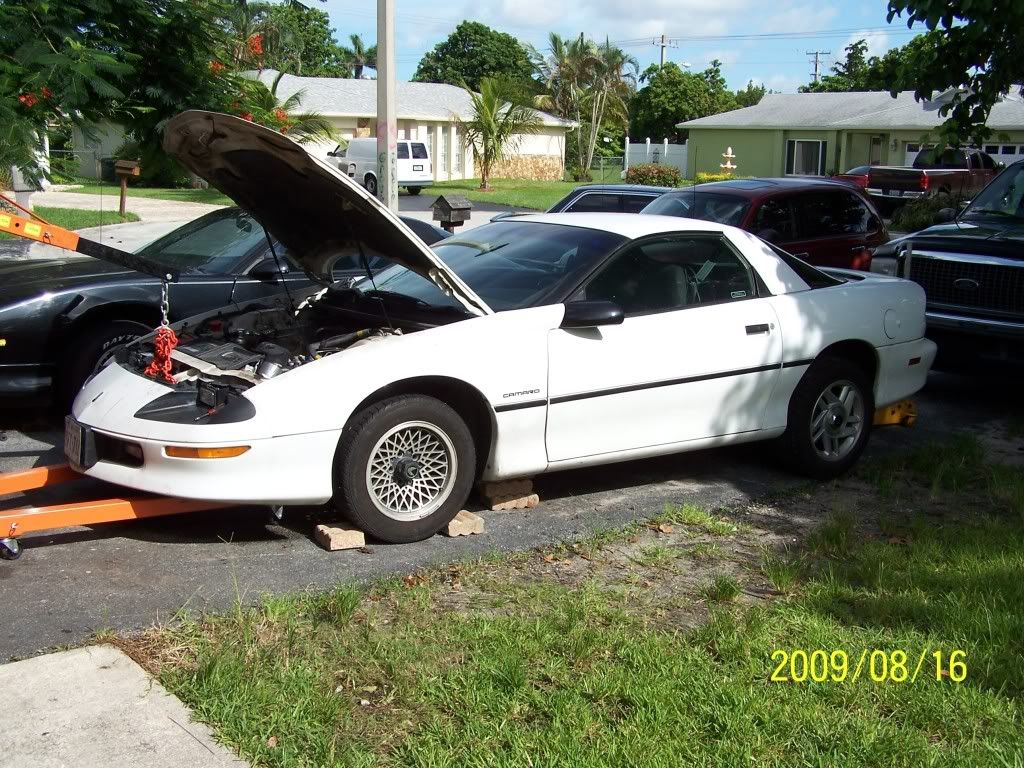
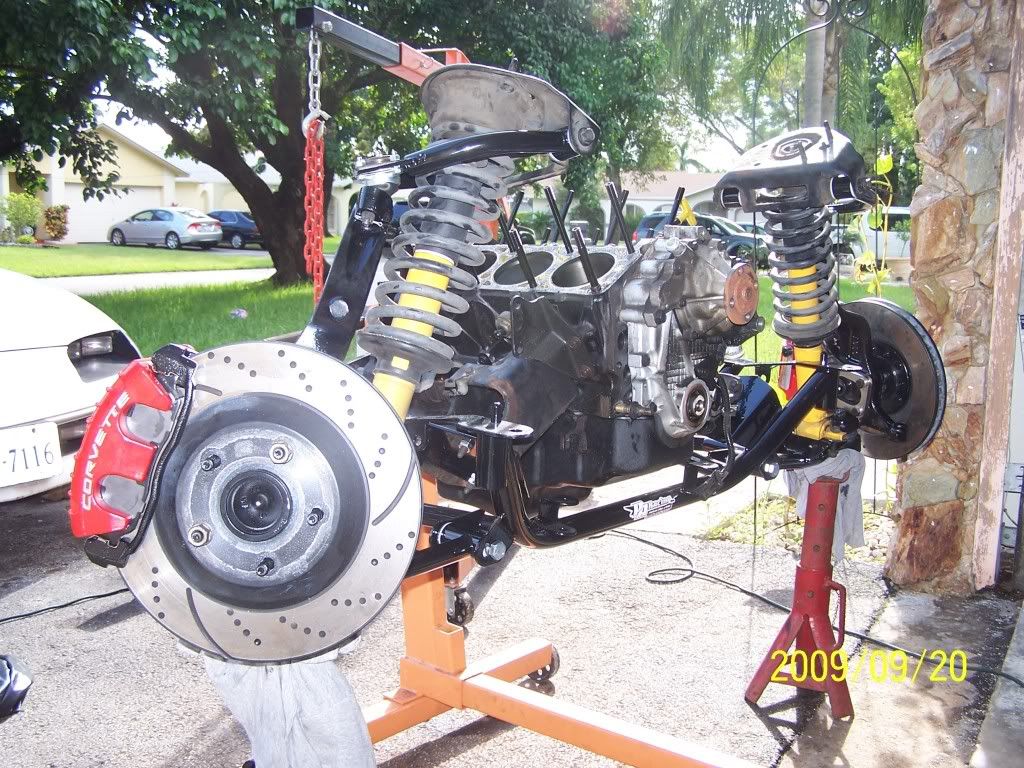
Okay...The time has finally come for me to remove the old 3.4L L-32 V-6 Engine from my Son's Black 1994 Camaro. After the ebb and flow in my thinking on which would be the best way to accomplish this task... I've decided to follow the GM Factory Method and after constructing some supporting apparatus and doing a safety dry-run on how this can safely be done, I'll drop the K-Frame member with the Engine and Transmission as one entire unit and then split the cases and R&R the old engine with the latest rebuilt one. This should make so much of the work, such as the installation of the headers/Y-Pipe, that much easier.
Now those of you that have followed my original posts know enough about me by now to realize that I try to a be thoughtful, careful and on occasion... an imaginative mechanic, so it would come as no surprise that I might find my inspiration for doing this type of removal from others who have proven the task can be done without killing anyone...such as this fellow's approach:
...and of course...ordinarily... I would have to agree with you. But in this case... seeing THIS video is what finally helped to push me over to the other side as to which technique to use...and yes... Archimedes would have jumped out of his bathwater to run and see these boys in action(Eureka!) LOL:
To be honest with you...the thought did cross my mind to gather together a happy crew of homespun crackers like these Yo-Yos...but I got stumped at the part about "How to Find the Right Sized 'Bubba' for your Engine Removal Project". I read all the "WIKIs" on the subject... but I couldn't decide on whether I should hire the man "By the Hour"...or "By the Pound"...for the job. And my only other question would be...Will the Last Guy on this Daisy Chain of a Hoist Rig be buying "Tattoo" a Box of Candy and some Flowers before the night is over?!
Seriously though, this approach to getting this difficult "mid-engine" car design of a motor pulled and then putting in a new one takes on a whole new set of problems when you suddenly have to lift the entire car off of the drive train.
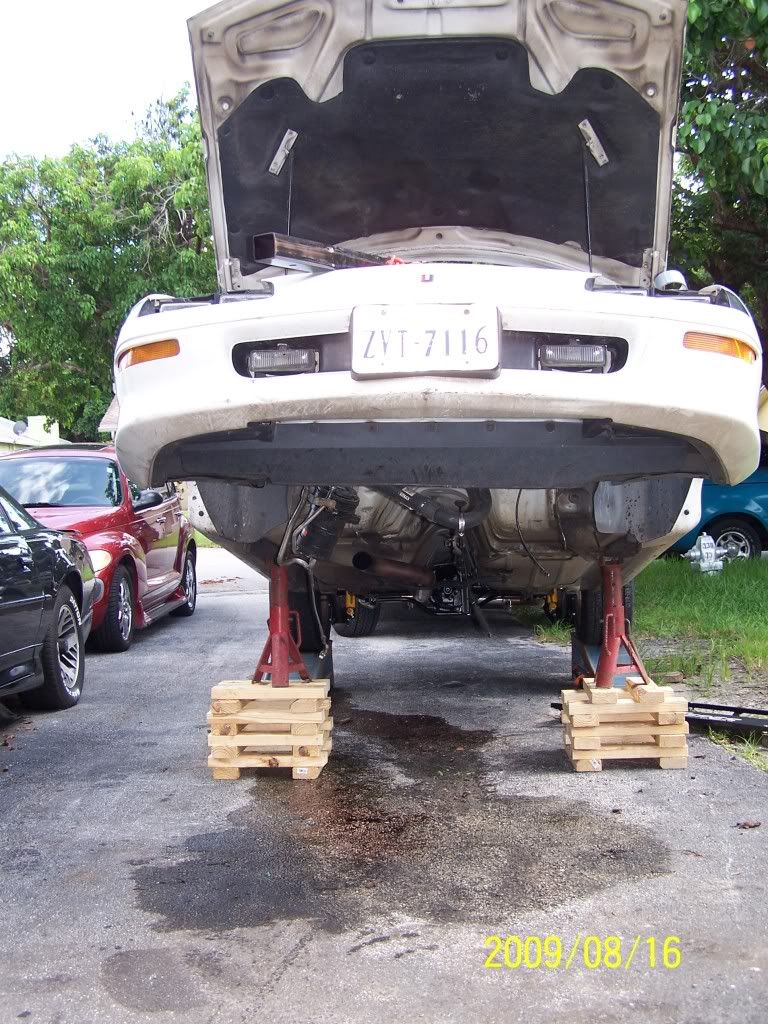
Without getting too deep into what the Renaissance folks called "The Golden Ratio" ...when it comes to constructing anything that your life depends upon to work correctly... knowing a little about "Base to Height" Ratios will keep you from building something to elevate and support the car that just might collapse like a House of Cards ...with you underneath the damned thing. Ergo... my photos will show you some modifications in construction that I insisted upon making when using the originator's idea on how to build his "Jack-Stand Elevators". The bottom and tops of both wooden support towers will be 3 X 2" X 6"X 16" fitted boards that are plumb and square with the box design (16" X 16" X 11 Segments) and screwed and nailed together, rather than just being nailed in place. To "Top it Off" ...my Jack Stands will rest on two Cast Iron Brake Disks to better distribute the weight of the car ( around 3392 lbs with the V-6 and 3436 lbs with a V-8 Engine). The idea here is not to allow all that weight being vectored into the four steel uprights to cut into or wind up splitting the wood cross members; breaking through and collapsing the car as soon as the failure occurs. I hope no one will disagree with my abundance of caution on this matter.
Tommorow... I'll be picking up a section of thick, plate steel (an old welding table) that I will cut with an Acetylene Torch down into a rectangular segment narrow enough to fit inside the splayed legs of my Cherry Picker-Engine Hoist. I have a Very Heavy Duty set of roll-around wheels to install on all four corners and this will serve as the means to lower and capture the Engine/Xnsmission Combo and wheel it out from under the car. Afterward... I'll remove the Jack Stands from the two "Towers" and adjust the two wooden platforms enough to lower the car down and have it resting safely so I can dress up the engine well and get things ready for the new motor. As always... I'll be methodical and careful and document these activities with digital images and videos and share what happens on my Photo Bucket Site for all to see. Here are the beginnings of the work to be done on this project:





Comment