Announcement

Collapse
No announcement yet.

Unibody Welding

Collapse
X
 
  • Filter
  • Time
  • Show
Clear All
new posts

  • Unibody Welding

    Not sure when I'll actually get around to doing this but I want it done sometime before I undercoat my 02 Malibu. It's not too uncommon to stitch weld (3 or 4 inch weld beads spaced 3 or 4 inches apart) on uni-body seams that are otherwise held by pinch welds, these weaker welds leave a lot to be desired for structural rigidity. for example, when jacking up the car by the front sub frame you can see the flex in the uni-body.

    Some things to keep in mind:
    -leave ample time for the welds to cool to prevent carpet from starting on fire. keep something nearby that can quickly put out a small fire. avoid using water if possible because cooling welds to quickly can cause stress and even cracks. compressed air may be suitable to prevent and put out fire.
    -an alignment after all is done would be a good idea
    -support the vehicle by points that keep the suspension under load as if the vehicle was on the ground at ride height (lower A-arms in this case). If the vehicle is supported by the body alone the welds will have pre-loaded stress when the vehicle is at ride height again.
    -clean area to be welded thoroughly to avoid potential contaminants
    -if at all possible use a MIG welder and PRACTICE before welding on the car, especially overhead welds.

    I will be checking out the underbody (and I've seen a seem in the front fenderwells too) to find any seams that would benifit from welding. Leave me input if you have experience at this sort of thing.

  • #2
    i've done some overhead arc welding and holy hell does that make this job take 10 times longer than it should... that being said, i'd like to see end-results if possible. and by stitch, are you going to go back over the unwelded sections after the welded areas have cooled(kinda like hanging bodywork)?
    1995 Monte Carlo LS 3100, 4T60E...for now, future plans include driving it until the wheels fall off!
    Latest nAst1 files here!
    Need a wiring diagram for any GM car or truck from 82-06(and 07-08 cars)? PM me!

    Comment


    • #3
      I talked to a buddy of mine (welder by trade) and he said that it should be gravy with a MIG. I've done overhead ARC and I can get some good welds, but consistancy is more of an issue. I wasn't going to go over the unwelded areas, i figure stitch welds will give it a lot more strength than stock already. Could still do that though.

      Comment


      • #4
        I never did get around to doing this with my Beretta, because I'm a terrible overhead welder with a MIG. Any tips/tricks?

        I also thought about the structural foam that BMW and some higher-end GMs use.

        91 SS . 3400/5spd - S&S, TCE, EP, FFP, SPEC, DSS, K&N . GEARHEAD dezign

        Comment


        • #5
          I haven't done this yet, I got my headers in this week so the only day I really got to work on anything I spent on my "other" malibu. I bought some dupli-color bed liner and a roll on kit so I'm all ready to rubberize the underbody whenever I get this welded up. Gotta get the welder borrowed for my next set of days off though. I did notice a couple more seams that would be good to weld, but I'll just take some pictures of them because it'll be a waste of time to try and describe them.

          Comment


          • #6
            Originally posted by cardot33 View Post
            I did notice a couple more seams that would be good to weld, but I'll just take some pictures of them because it'll be a waste of time to try and describe them.
            good choice.
            1995 Monte Carlo LS 3100, 4T60E...for now, future plans include driving it until the wheels fall off!
            Latest nAst1 files here!
            Need a wiring diagram for any GM car or truck from 82-06(and 07-08 cars)? PM me!

            Comment


            • #7
              Originally posted by woody90gtz View Post
              I also thought about the structural foam that BMW and some higher-end GMs use.
              I've read good things about that polyurethane foam.
              Jesse M.

              3x 1990 Turbo Grand Prix
              1987 Monte Carlo SS Aerocoupe

              Comment


              • #8
                Originally posted by jman093 View Post
                I've read good things about that polyurethane foam.
                It's a closed-cell foam that should be weatherproof, which is another thing I like about it in addition to the rigidity and sound-deadening. The only really downfall I can see is the weight, I'm sure it's not light.

                91 SS . 3400/5spd - S&S, TCE, EP, FFP, SPEC, DSS, K&N . GEARHEAD dezign

                Comment


                • #9
                  Originally posted by woody90gtz View Post
                  It's a closed-cell foam that should be weatherproof, which is another thing I like about it in addition to the rigidity and sound-deadening. The only really downfall I can see is the weight, I'm sure it's not light.
                  Oh hell, it ways nothing. If you went batshit crazy and did the whole car everywhere you could, it'd add maybe 10 lbs.
                  Jesse M.

                  3x 1990 Turbo Grand Prix
                  1987 Monte Carlo SS Aerocoupe

                  Comment


                  • #10
                    Are you sure? I could be wrong, but I assumed with the dense cell structure that foam would be fairly heavy. For a 10-20lb weight penalty it would be well worth it, without a doubt.

                    91 SS . 3400/5spd - S&S, TCE, EP, FFP, SPEC, DSS, K&N . GEARHEAD dezign

                    Comment


                    • #11
                      10-20 is NOTHING. hell i gain and lose that much weight every month. the increase in rigidity(and likely noise control as well) would be undeniable.
                      1995 Monte Carlo LS 3100, 4T60E...for now, future plans include driving it until the wheels fall off!
                      Latest nAst1 files here!
                      Need a wiring diagram for any GM car or truck from 82-06(and 07-08 cars)? PM me!

                      Comment


                      • #12
                        I agree. I thought it would be 100-200lbs in additional weight like a traditional sound-deadening job with Dynamat and the like.

                        So who wants to be the guinea pig?

                        91 SS . 3400/5spd - S&S, TCE, EP, FFP, SPEC, DSS, K&N . GEARHEAD dezign

                        Comment


                        • #13
                          I ended up being very conservative because I wasn't having the best day with the welder, so I must warn that the welds look like crap. give me a bit of a break because its my first time welding overhead with a MIG. welding to the actual floorpan is the hardest part. I wish I had more time I would've ground the welds down at least. I already undercoated the underbody, but left the lower control arm area because I may weld that later (thicker metal=easier to weld). as for performance difference, it's slight at best. the real difference is peace of mind, which is kind of a driving aid. good experience, but bad results. sorry guys, I kinda fell short on this one.
                          Attached Files

                          Comment


                          • #14
                            i've seen(and done) worse.
                            1995 Monte Carlo LS 3100, 4T60E...for now, future plans include driving it until the wheels fall off!
                            Latest nAst1 files here!
                            Need a wiring diagram for any GM car or truck from 82-06(and 07-08 cars)? PM me!

                            Comment


                            • #15
                              Looks to me like you are moving the puddle too fast and have your wire speed too high. What type of welder are you using, amperage?

                              If you are using a Miller MIG, I would suggest putting the electrode in the #1 position (if it has a dial, use 25amps, or #1) and start with the wire on it's slowest setting, slowly bringing it up until you aren't burning the wire off the tip. Make a small circle about the size of a #2 pencil eraser, move 6" away and repeat, then go back and make them 3" apart, then 1.5" etc.

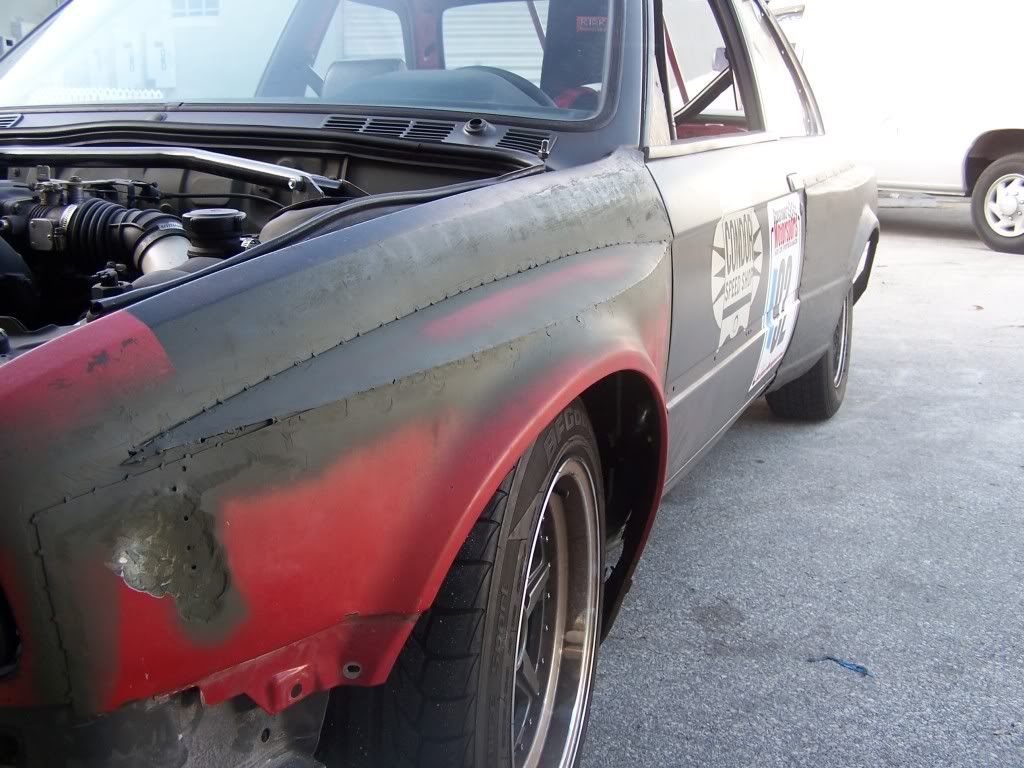
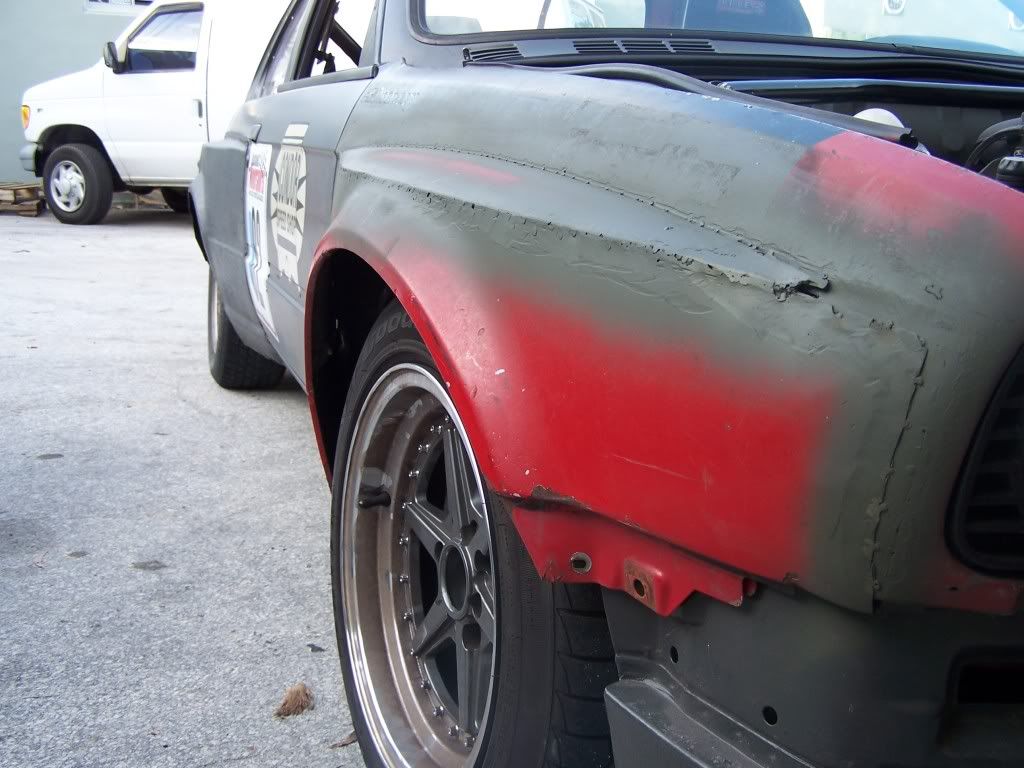
                              You want to talk about stitch welding, you should see the wide body BMW we have been working on over at my friends shop!


                              Links:
                              WOT-Tech.com
                              FaceBook
                              Instagram

                              Comment

                              Working...
                              X